paint.net background removal tutorial
By [
LynnAnneBrown]
| From | 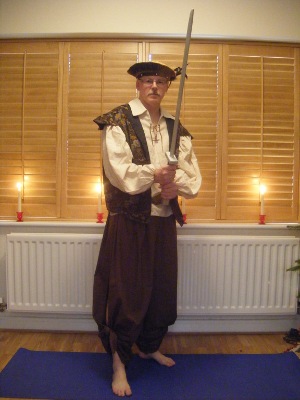 | To |  |
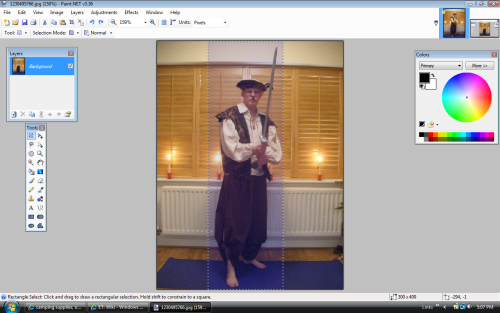
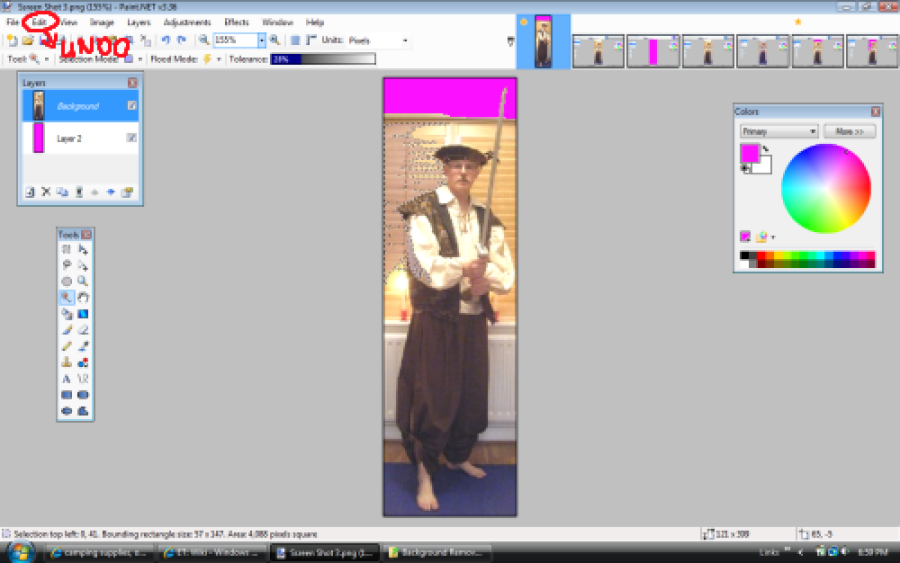
The first thing you need to do is crop the image close so that you are focused on the forground figure you are trying to isolate.
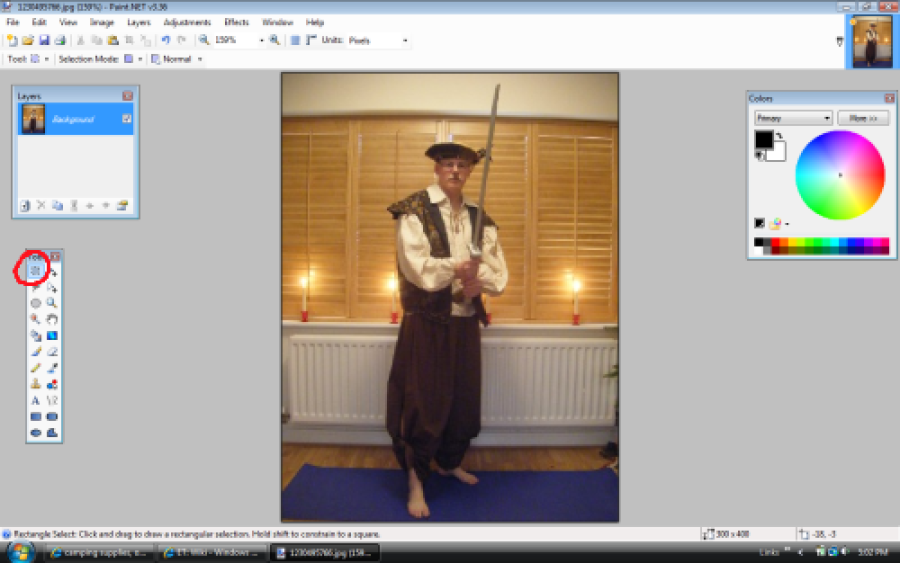
To do this choose the selection tool

Then drag the mouse from the upper corner of area you want to isolate down to the lower corner of that image.

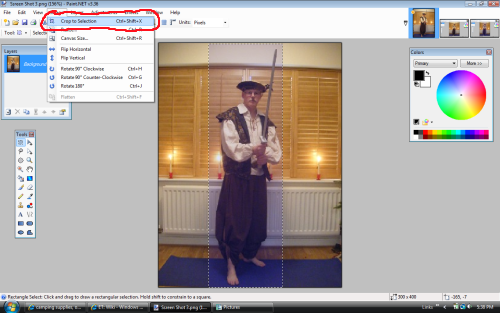
Now choose the crop to selection option in the images pull down menu and you will have the image down to a managable size.
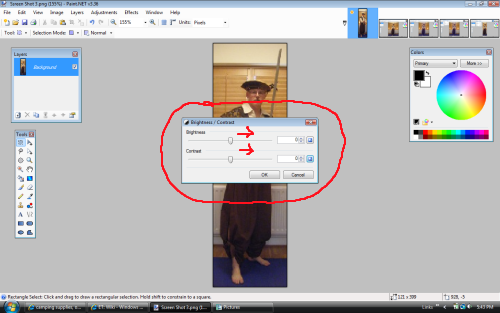
Now you need to adjust the Brightness and Contrast so that there is greater distintion between the foreground and the background.
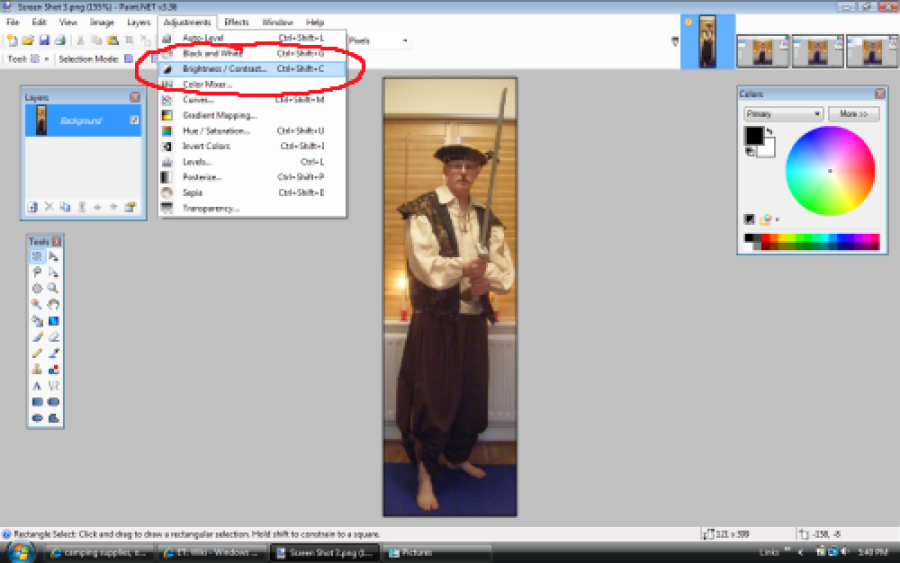
Choose the Brightness and Contrast option in the Adjustments pull down menu.
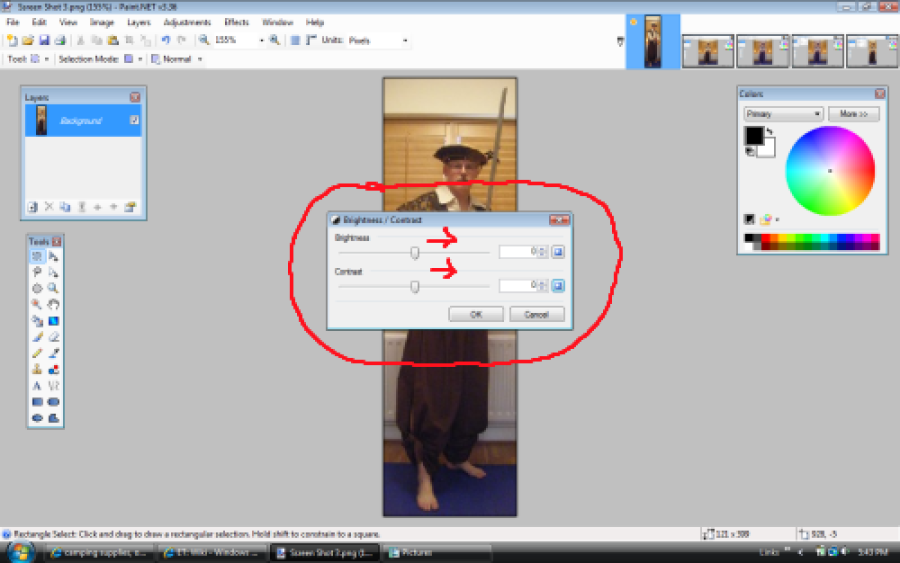
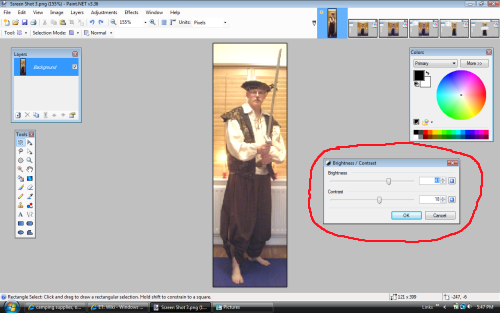
Fiddle with the adjustments till the forground becomes more distinct from the background without washing out any of the foreground

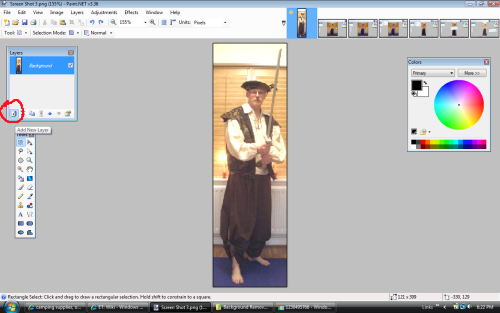
Now you will need to add a layer that can go behind the image so that you can see what you are doing as you remove the original background from the image.

To do that just click on the add button on the layers palette. If this palette is not visible you can find it in the Windows pull down menu, along with the colours, tools, and history palettes. Being able to hide and show these palettes is useful when working on large pieces that take the full screen.
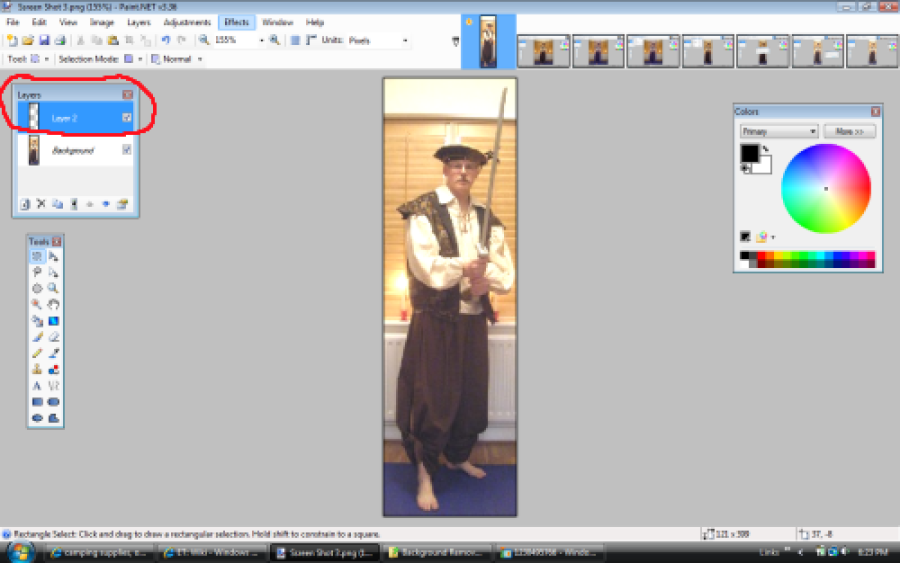
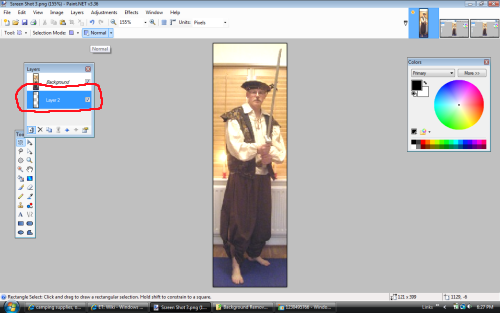
You will notice that another layer has been added to the layers palette.
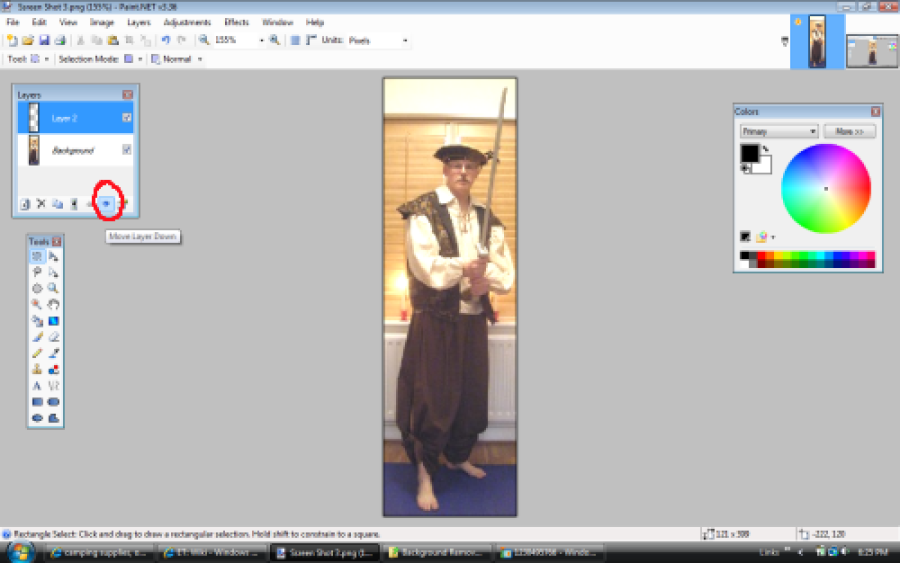
What you need to do now is to move the new layer down into the background. To do this click on the down arrow button on the layers palette.

You will notice that the active layer (the one highlighted in blue), is now below the original layers.
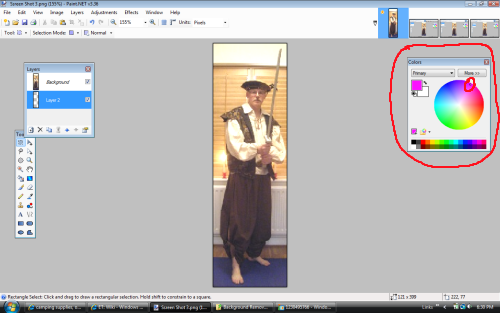
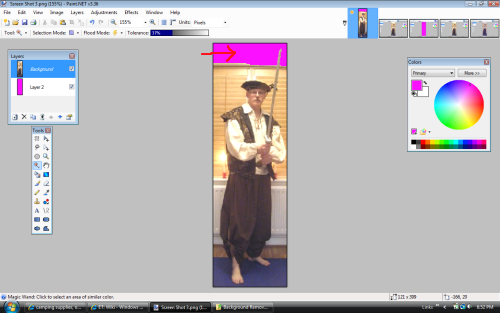
Now you will want to add a colour to the new layer, in a colour that is distinctive from the colours your are working with, I chose bright pink, It will make it easier to see what you have cut away when we get to the next step.

To choose the colour, just slide the indicator on the colour palette to the colour you want to use. Again, try to ensure that it is a colour not used in the photograph itself.
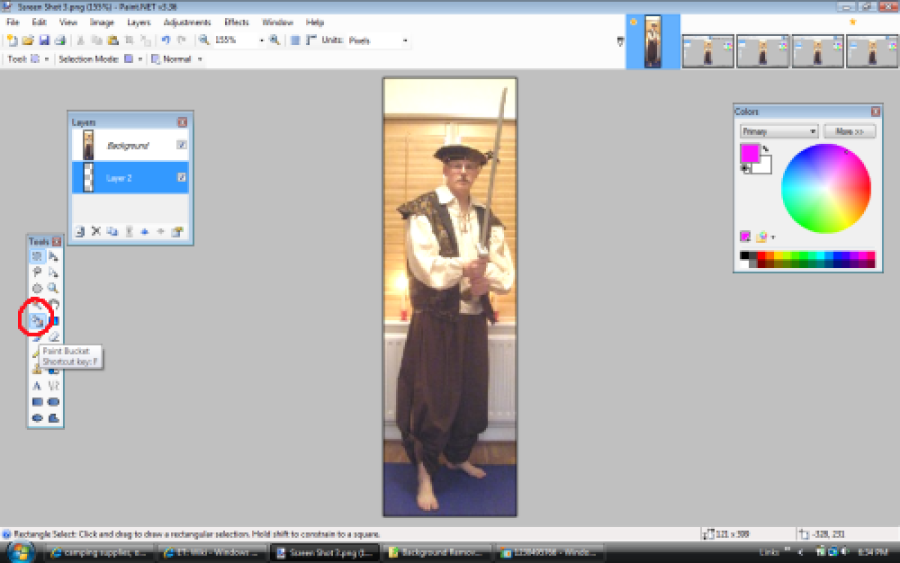
Now go to the tools palette and choose the paint bucket tool.
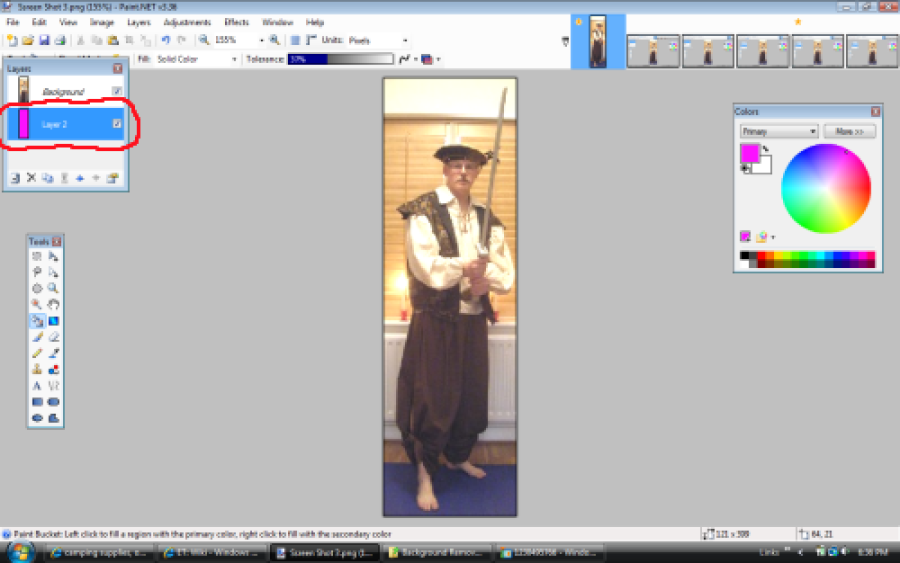
Place the paintbucket tool anywhere on the image and click.
You will notice on the layers menu that the active layer (background) shows pink. The reason that this happens is that when working in layers is that the layer that is highlighted in the palette is the one you are working on, so even though you still see an unaltered image in the foreground, the colour has been added to the active (background) layer.
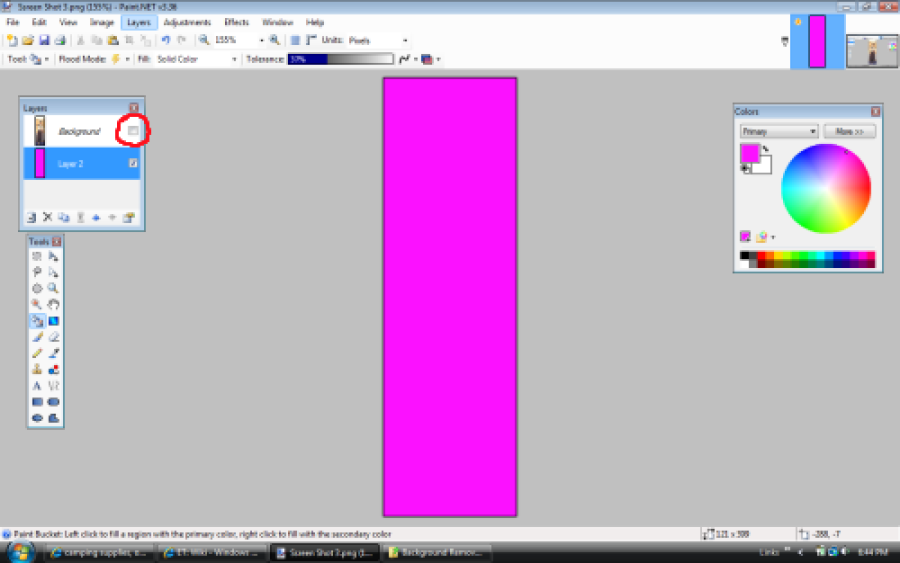
To confirm this uncheck the button on the right hand side of your foreground layer. Doing this on any layer hides that layer until you check the button again.
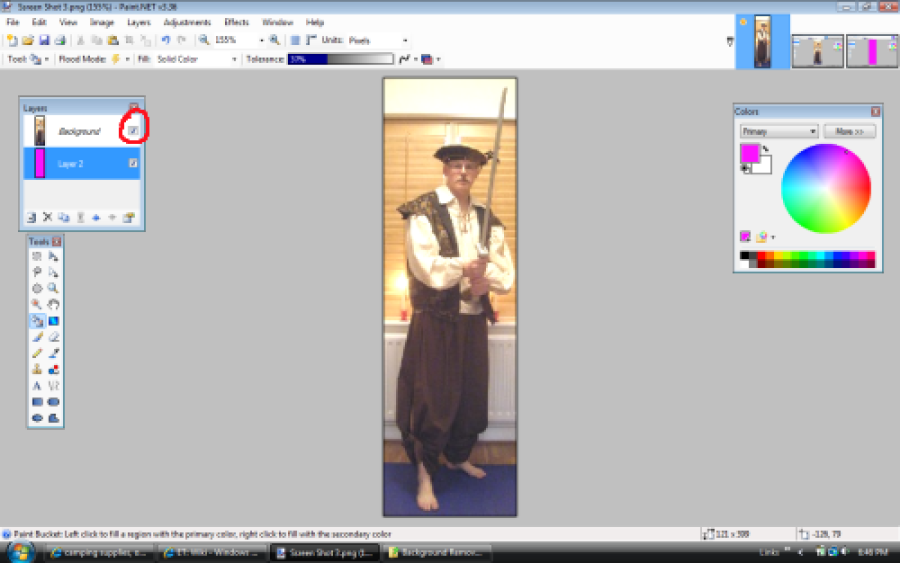
Check the visibilty button once again and you will see your foreground image once again.
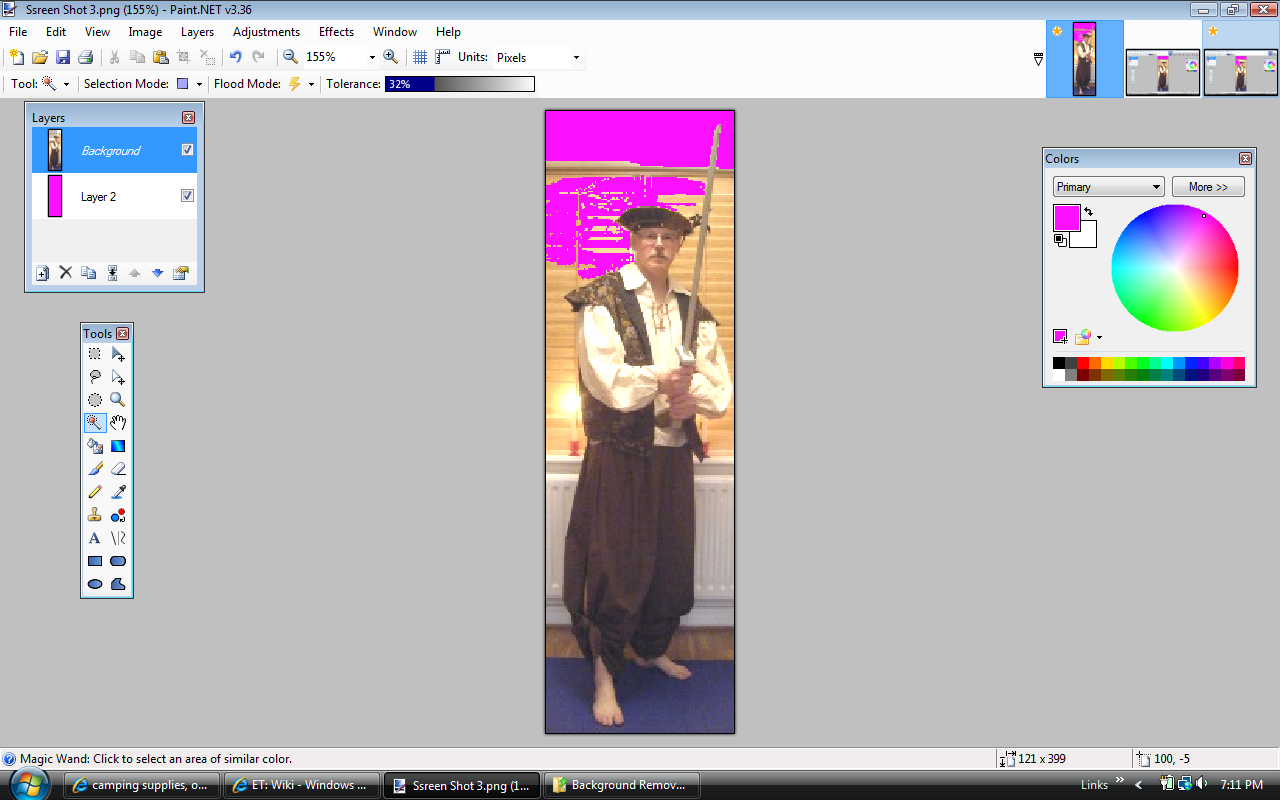
Now it's time to start cutting away the background.

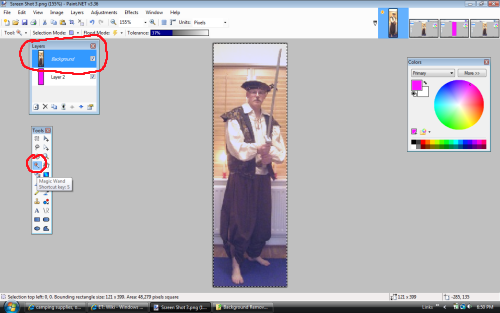
First click on the Magic Wand Tool to activate it.
Then click on the forground layer in the layer palette. You will notice that it is now highlighted in blue. That means you are now working on the foreground layer.
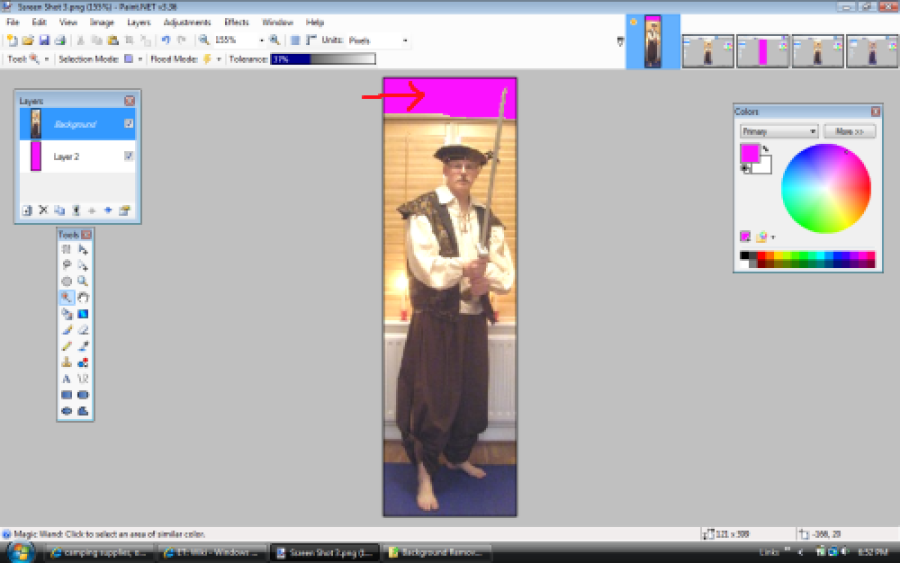
Place the magic wand over an area of solid colour like I have in the picture, click on it, this will select everything nearby that is that colour. Then choose cut on the edit pull down menu and click on that, this will cut away the selected area on that layer.
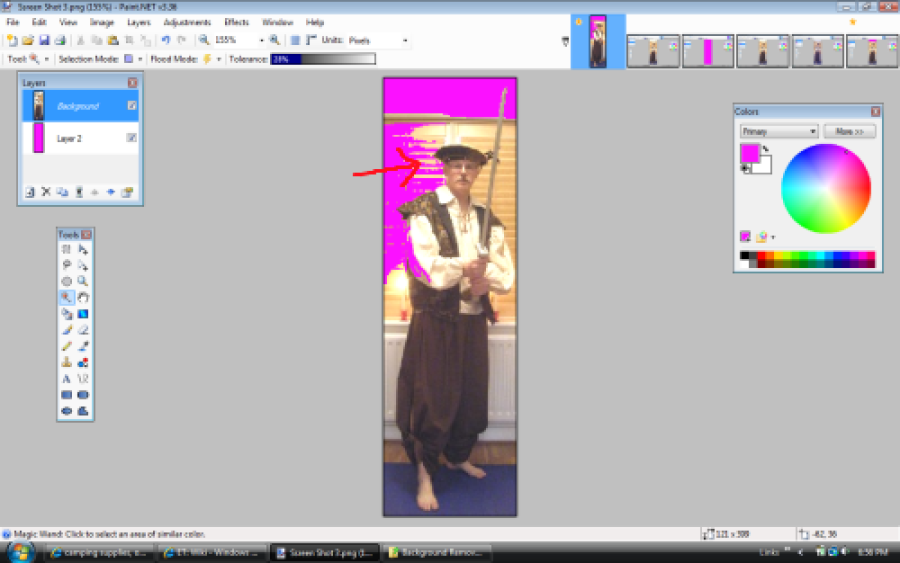
Repaeat this on the the Area around the shutters. You will notice that part of the sleeve has been cut away and you dont want that, so....
Use the undo selector on the pulldown menu and return it to the way it was before
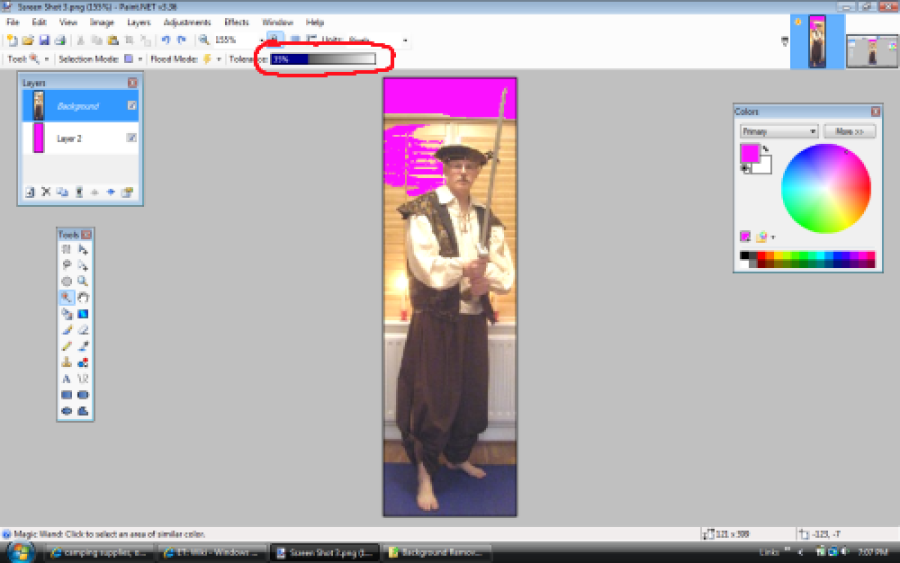
Now this is where you need to start fine tuning the Magic Wand Selector. Near the top of the page is a tolerance selector. How it works is that it tells the computer how many shades of a colour you want to select. If it is set to a low number only a few shades will be selected If it is set to a hight number a lot more shades and colours will be selected.
You will want to play with this till you can get a setting that will remove as large a chunck of the background without removing the parts you want to keep. This takes a little fiddling at first, but it easy after the first few times.

Continue with the magic wand, playing with tolerances here and there till you have removed most of the background. Some parts will just become to fiddly even with the tolerance selctor.
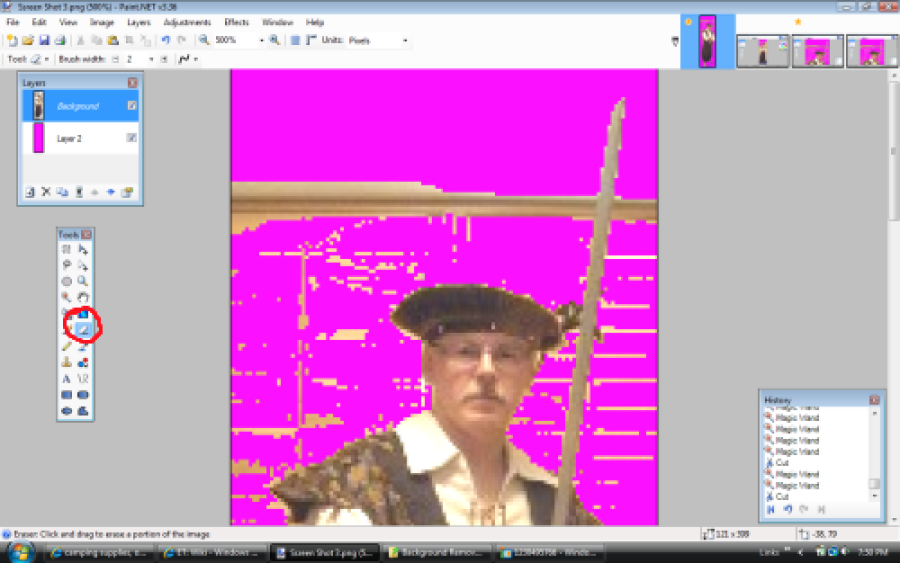
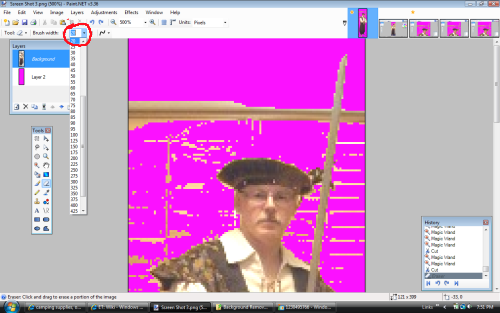
Now go to the tool palette and select the eraser.
Also you might want to adjust the zoom on the screen so you can get in closer. You can find the zoom controls on the line below the pulldown menus.

You can set the size of the eraser in the brush width pull down menu.

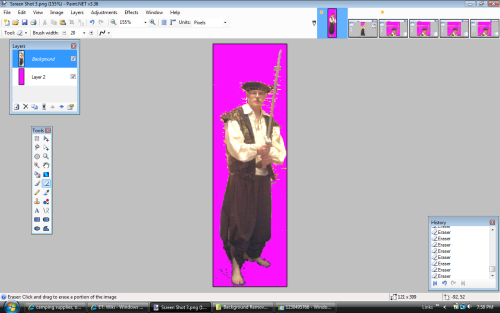
Now you can clean away the rest of the background, and the edges with the eraser. I usually start with a big size and work my way down as I get closer to the edges.
From Here you can either save the image as a .png with the background still bright pink as I have. Or you can activate the background layer and replace it with a prefered colour then save it. Or you can deleted the background layer all together and you will end up with a transparent background when you save it as .png
[
LynnAnneBrown]
The image used in this tutorial was provided by [
Rebulous]
 Stumble!