A tutorial made by me, [Atayemi] on how to create fun text in Photoshop. :)

I am going to show you how to create writing with a cool green alien-like glow around it. It's an easy, yet effective tip.
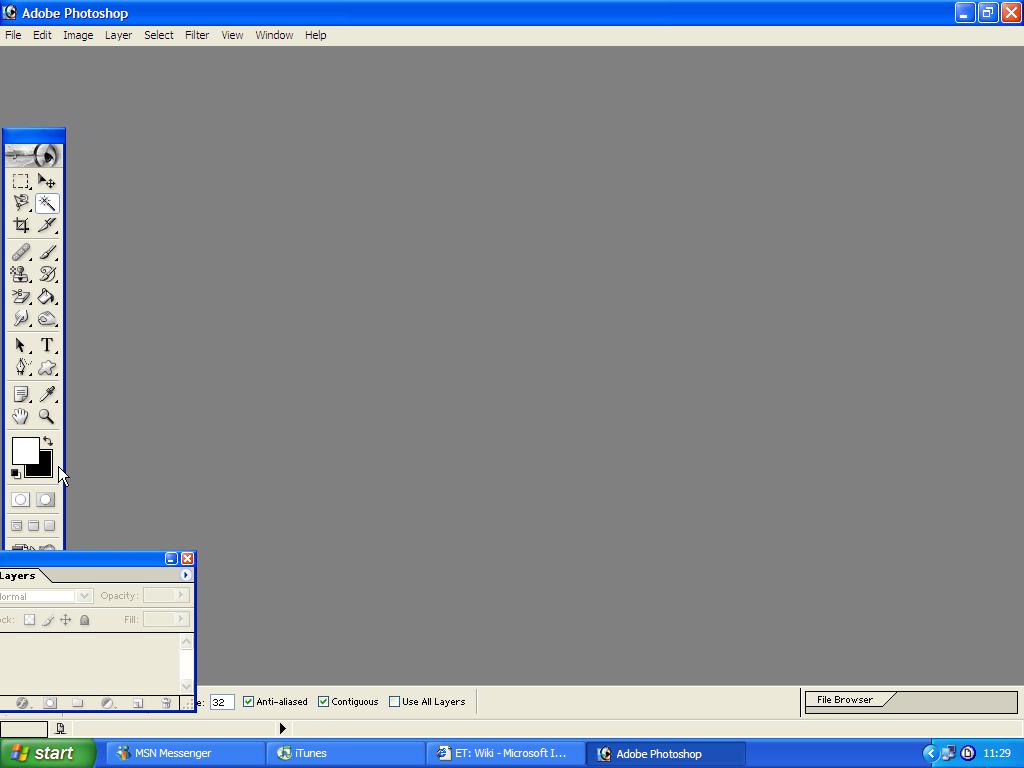
Fig 1)

First, we want to open up a new document, to give off more of an eerie effect and bring the glow out alot more, open a new document with a black background and a white foreground. The size of mine is 300px X 300px.
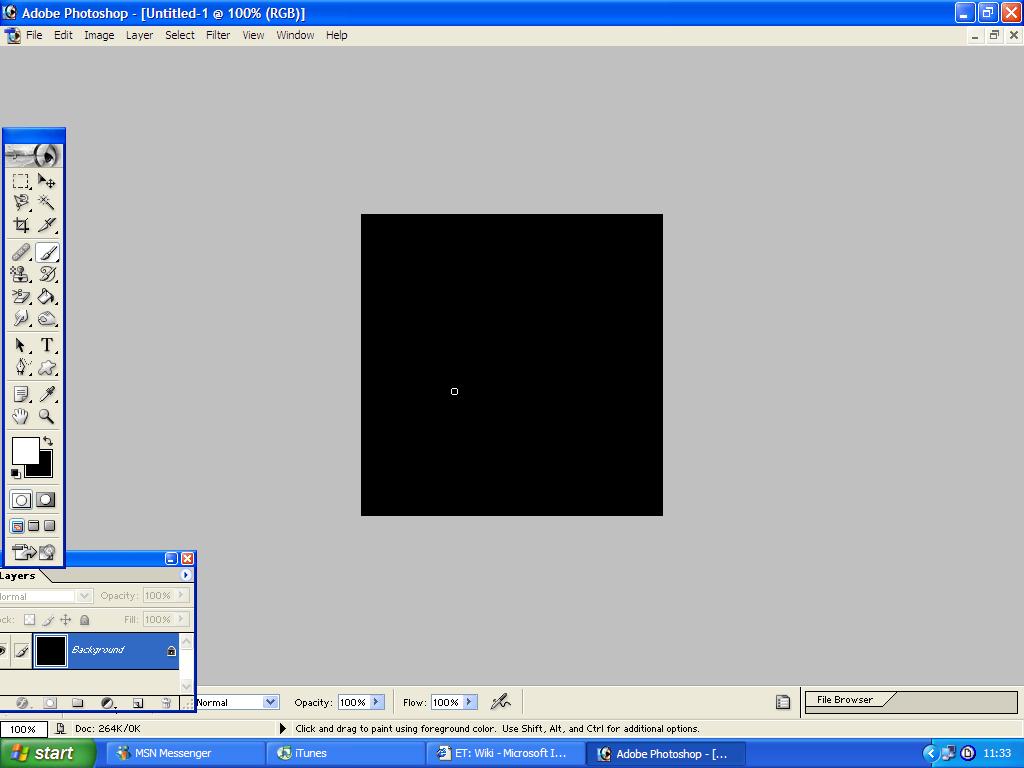
Fig 2)

So now we have the background, it doesn't matter what you type, just as long as it will look effective with a green glow around it. :)
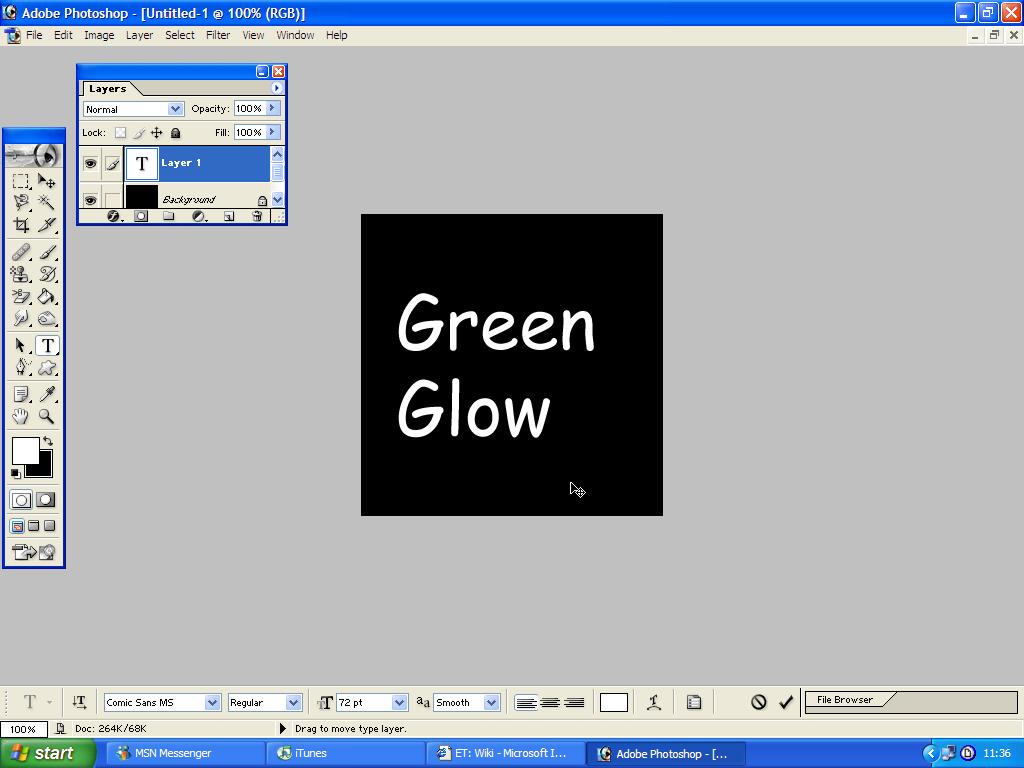
Fig 3)
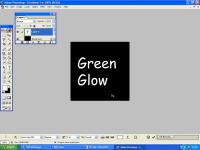
Now for the text, on the toolbox, click on the 'T' and your cursor will change into a small vertical line like you would have on a Microsoft Word document. Along the bottom, there is the text properties. I have used Comic Sans MS as my text, it is regular instead of bold, but you can use bold if you wish. The size of my text is 72 so you can see it better, and I have chosen to use Smooth as my anti-aliasing method. I have just kept my text white because it is effective on a black background. You can move your text around anywhere you like until you're happy. :)
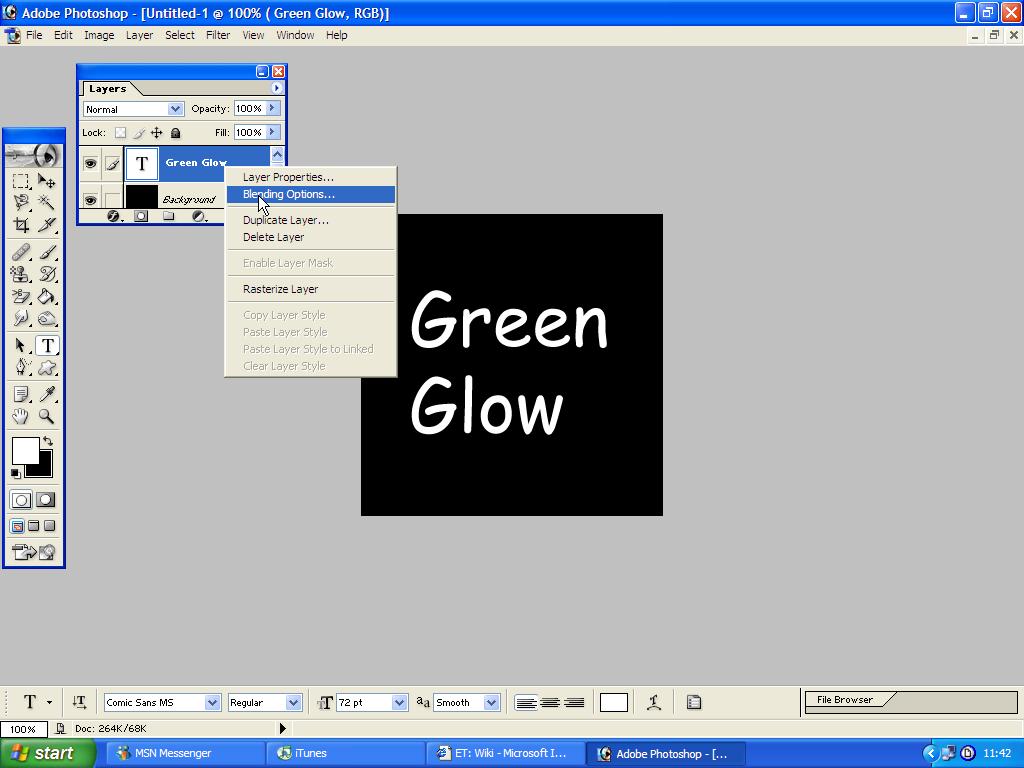
Fig 4)
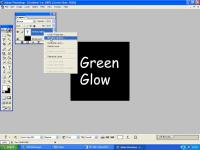
This is where it gets slightly tricky with all of the different options. On your layer's box, right click on the text layer(I've named mine Green Glow so I know that it's the text layer. To do this, just right click on the layer and go onto Layer Properties to change the name) and go onto Blending Options. A box should come up now. :)
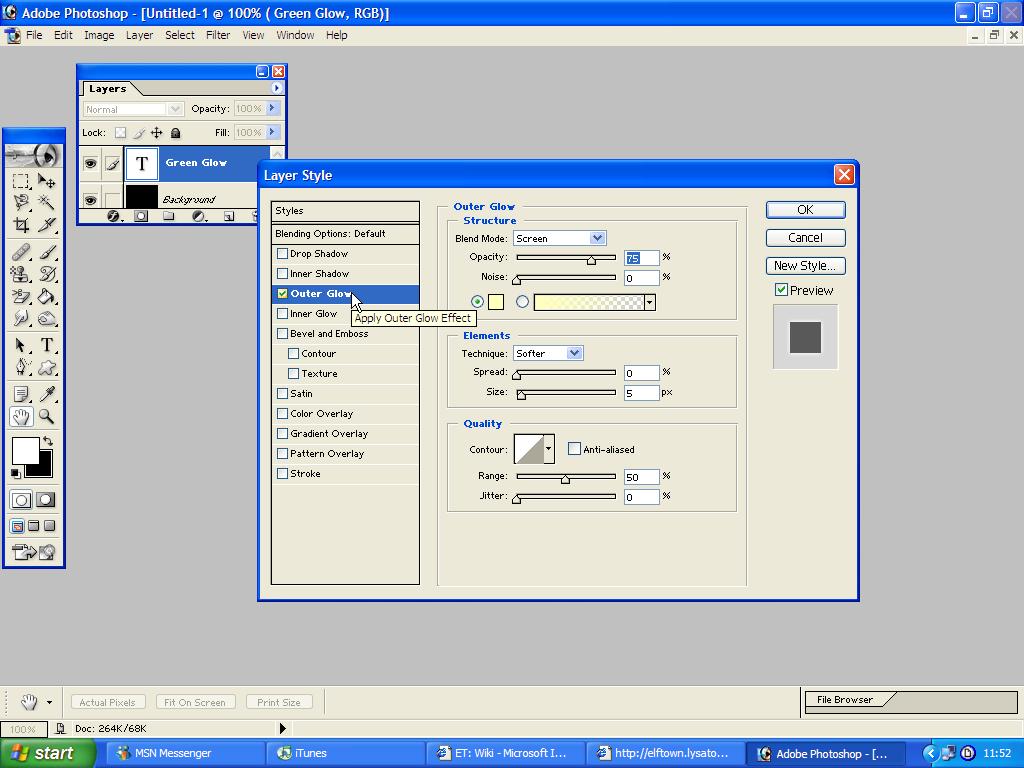
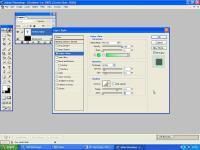
Fig 5)
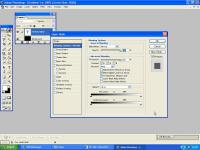
This is the box I'm talking about. Now then, forget the Blending Default Options part, go onto Outer Glow and make sure that the small box is ticked.
Fig 6)
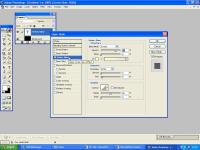
Now the box is ticked, and that box ONLY, we can start fiddling around with the options! :P I'll set the numbers and colours etc in a table.
Blend Mode: Normal.
Opacity: 100%
Noise: 0%
Colour: Tick the left circle next to the box with the colour in it. Change the colour by clicking the box with the colour in it. The colour's code is: 00F75D
Technique: Softer
Spread: 7%
Size: 24 px
Contour: Doesn't need changing, it's fine how it is. Don't tick the box next to it either. :)
Range: 74%
Jitter: 0%
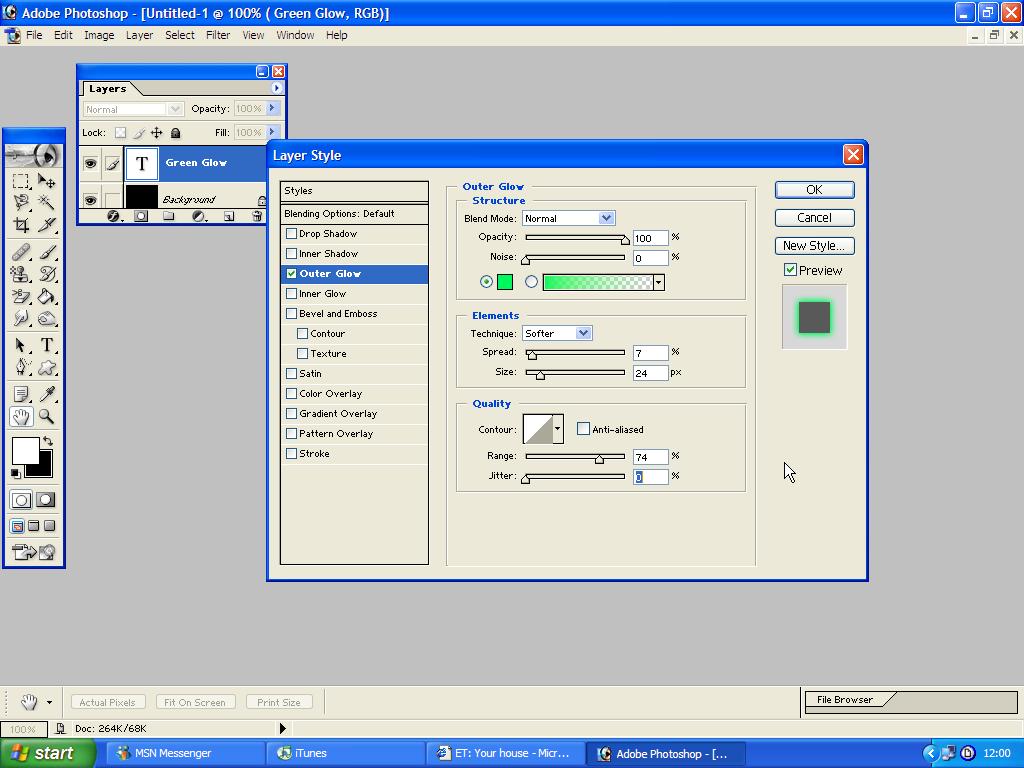
Fig 7)
This is how your table should look after you have adjusted the settings. Just click OK and look at the results! :P
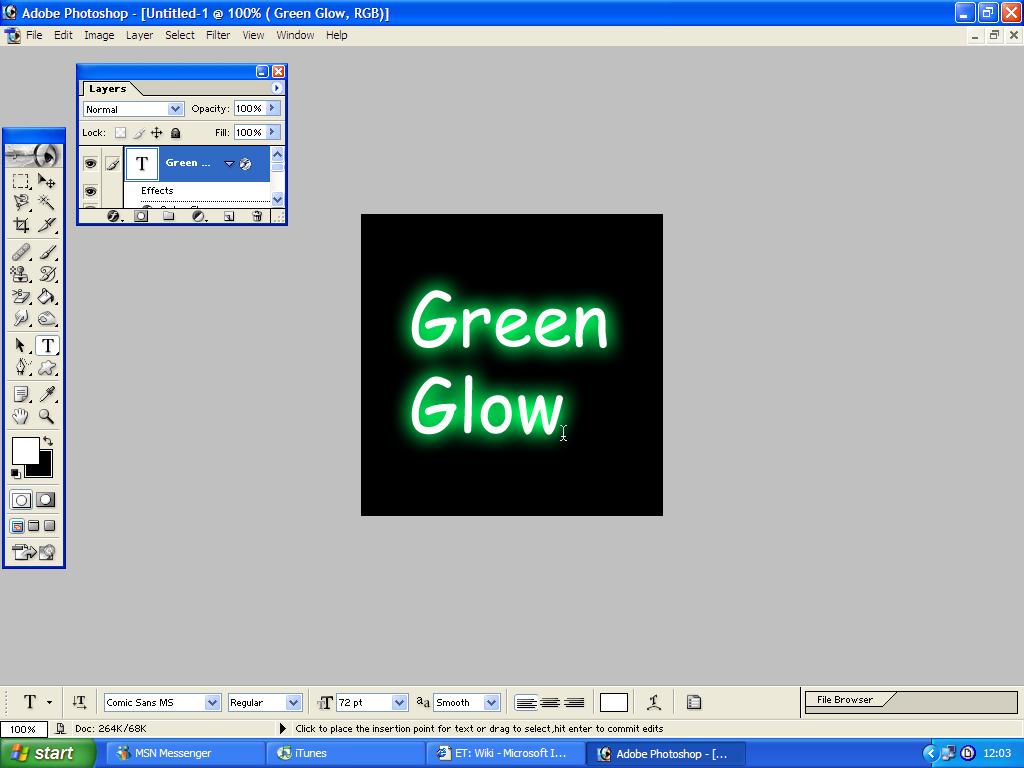
Fig 8)

The finished result! ^^ Just save it and you're done! Crop it if you like and do whatever you want with it afterwards. :)
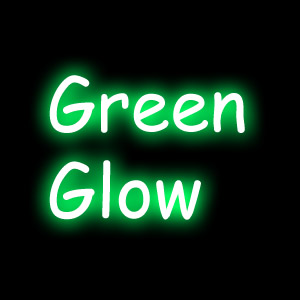
Fig 9)

Gives an alien-like effect huh? :D
Any questions can be asked in the comments box, or you can ask me, [Atayemi]. Thank you for reading. :)
Back to Elftown Tutorials
 Stumble!