A tutorial made by me, [Atayemi] on how to create fun text in Photoshop. :)
 In this tutorial, I am going to show you how to create a fun neon-like text.
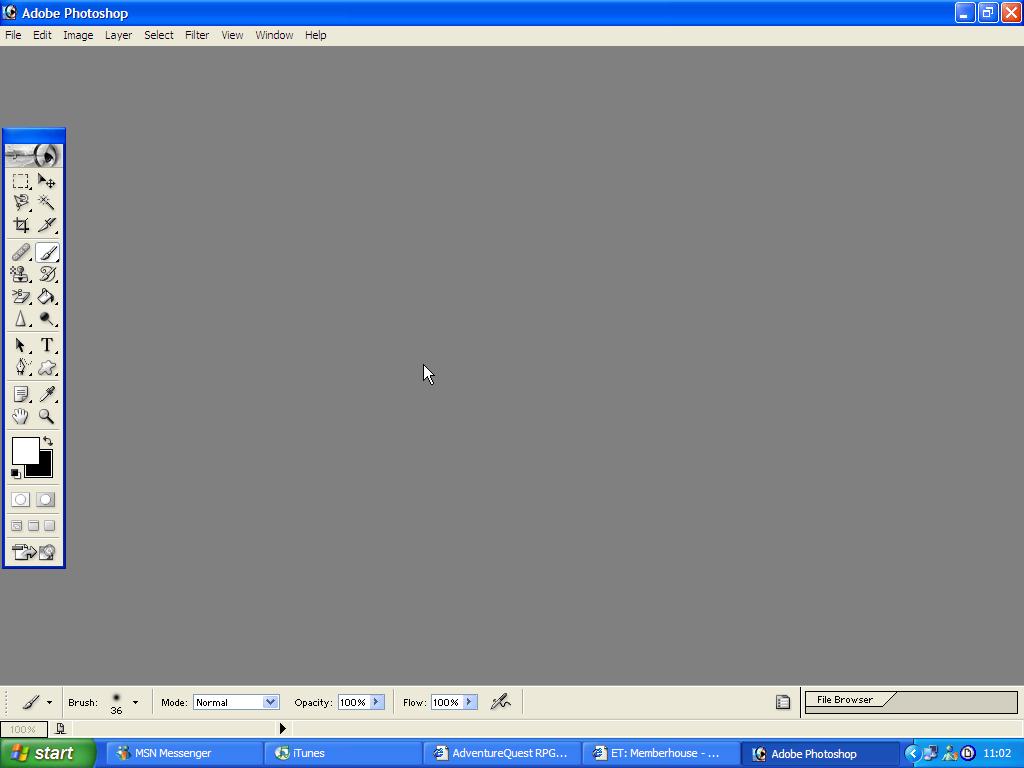
Fig 1)
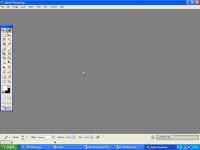
So here we have Adobe Photoshop 7.0, it's quite bare with no image, so let's open one up! Make sure that the background colour is black and the foreground colour is white. As in the image, these settings I have already added. :)
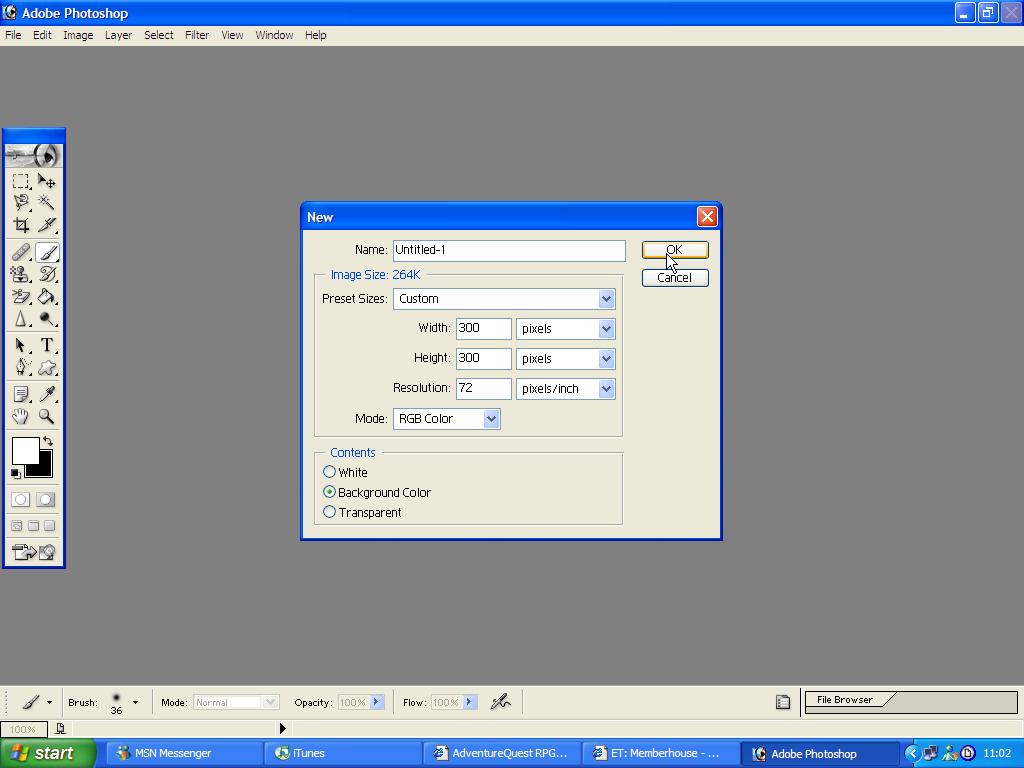
Fig 2)
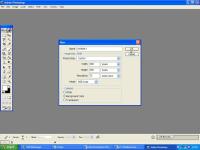
Now then, to open a new page, click onto 'File' which is along the top underneath the blue bar and then click onto 'New.' The box in the image above should come up. Make sure that you have the same settings as me, other than the image size, don't change anything. ;)
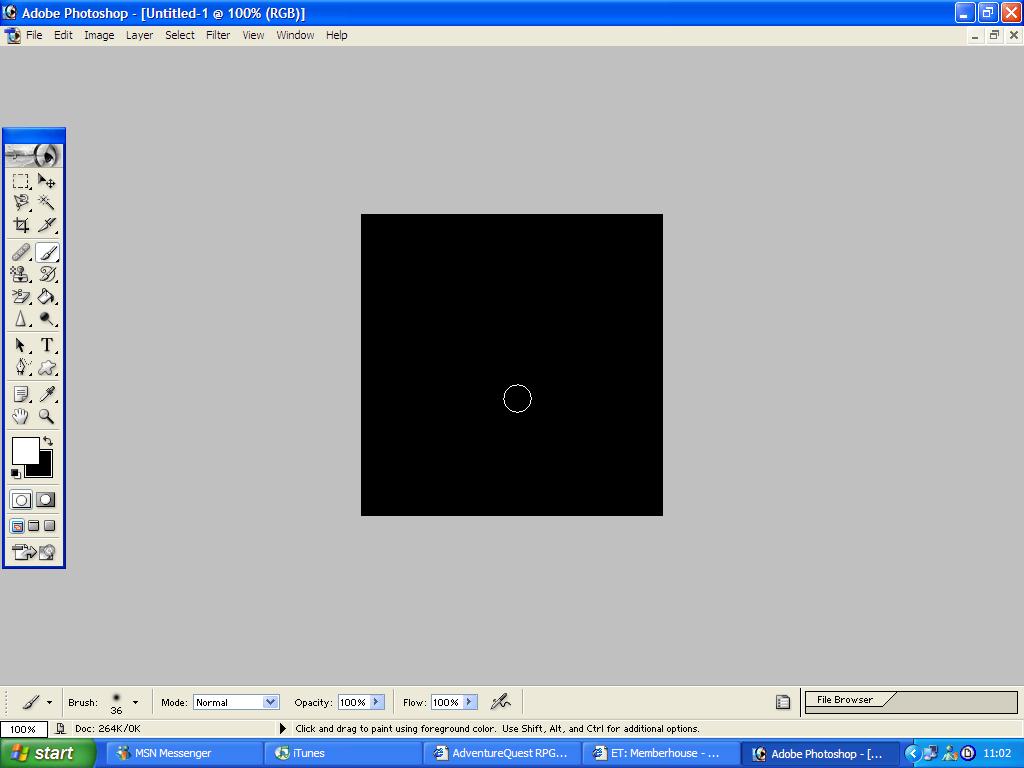
Fig 3)

So here we have our image! Opened up and ready to go. The reason why I have chosen a black background is because the neon effect will be much more effective so you can see the glow. Neon lights and signs are used more or less at night anyway. :P
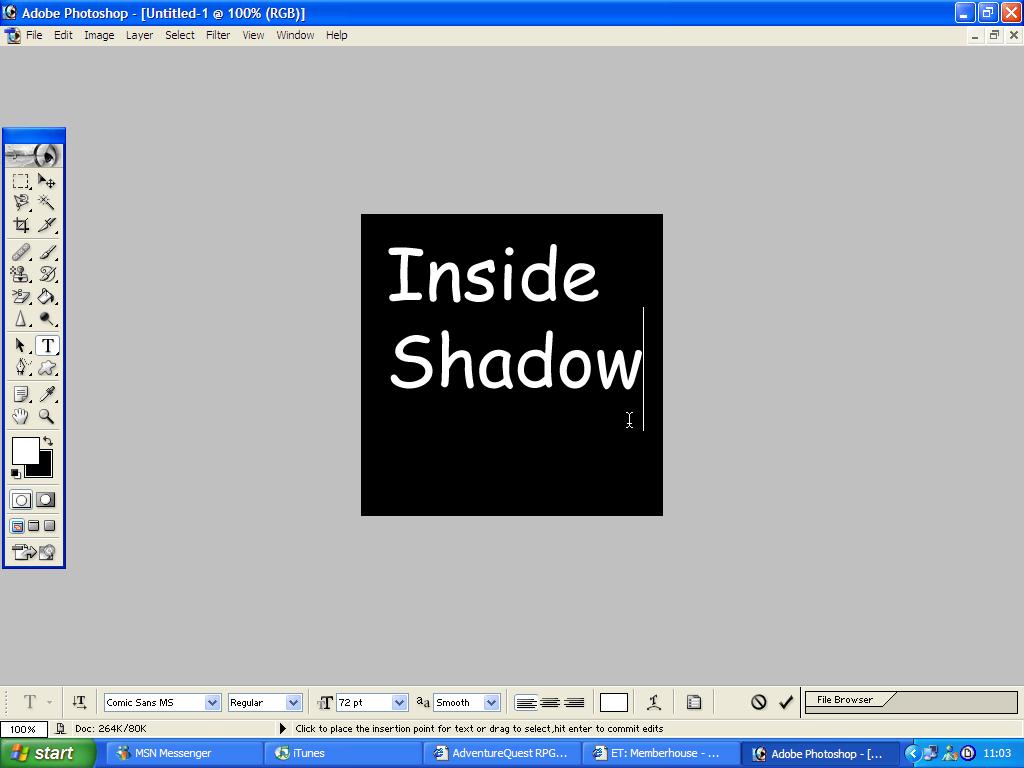
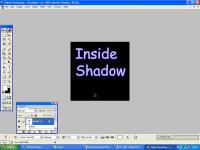
Fig 4)
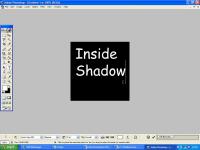
Time for the text. Make sure that you have clicked on the 'T' otherwise you won't be able to write anything! ;) So just move your cursor onto the image and type whatever. I have chosen 'Inside Shadow' because it's a banner for something. But you can type whatever you like! The font I have chosen is 'Comic Sans MS' because it's a nice easy font and clear to read. White on black is always a plus too. The size of my writing is 72pt, but mines only that size so you can see it. My anti-aliasing method is smooth. Just type what you want and move your text around until you are happy. :)
Fig 5)
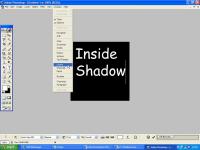
Now I will admit that I was a bit of a lemon here..XD I forgot to bring the layers up on screen in that small box so you change the name/settings of each layer. So to bring the layers up in a box on your screen, just go onto 'Window' along the top where you went to find 'File' at the beginning and then find 'Layers' The layers box should now appear on screen, yay!
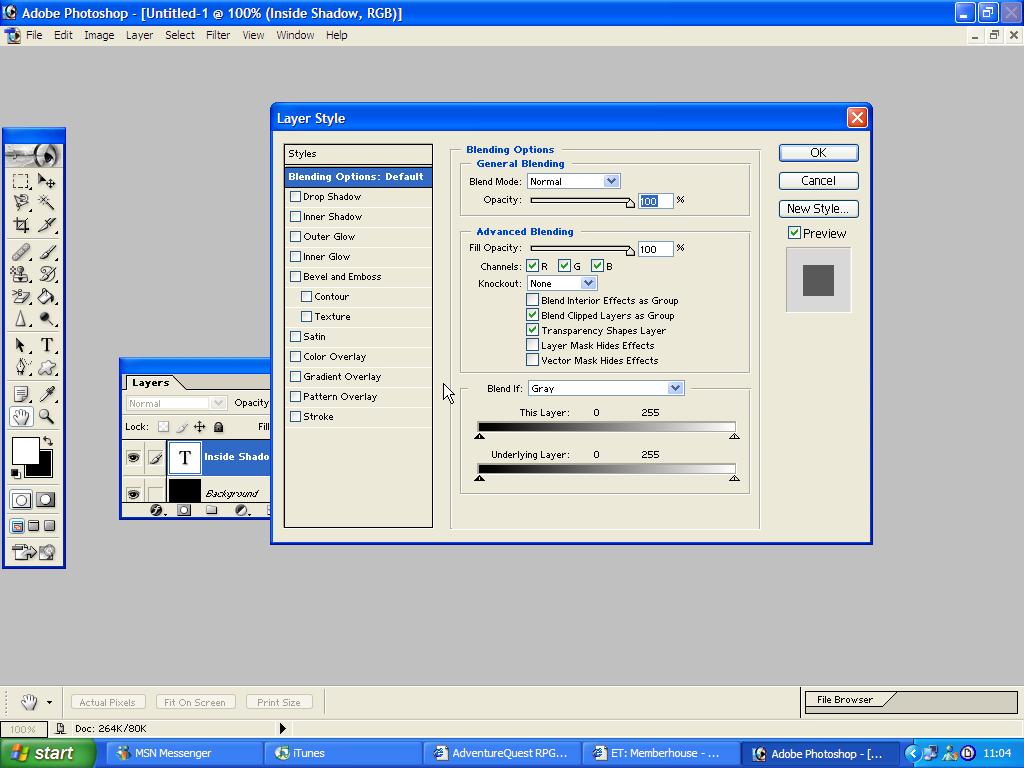
Fig 6)

Time to add the neon effect! This is where it gets slightly tricky. :P On the layers box which you have just opened, right click on the text layer and a series of options should come up. Go onto 'Blending options' and the big box in the image above should come up. :)
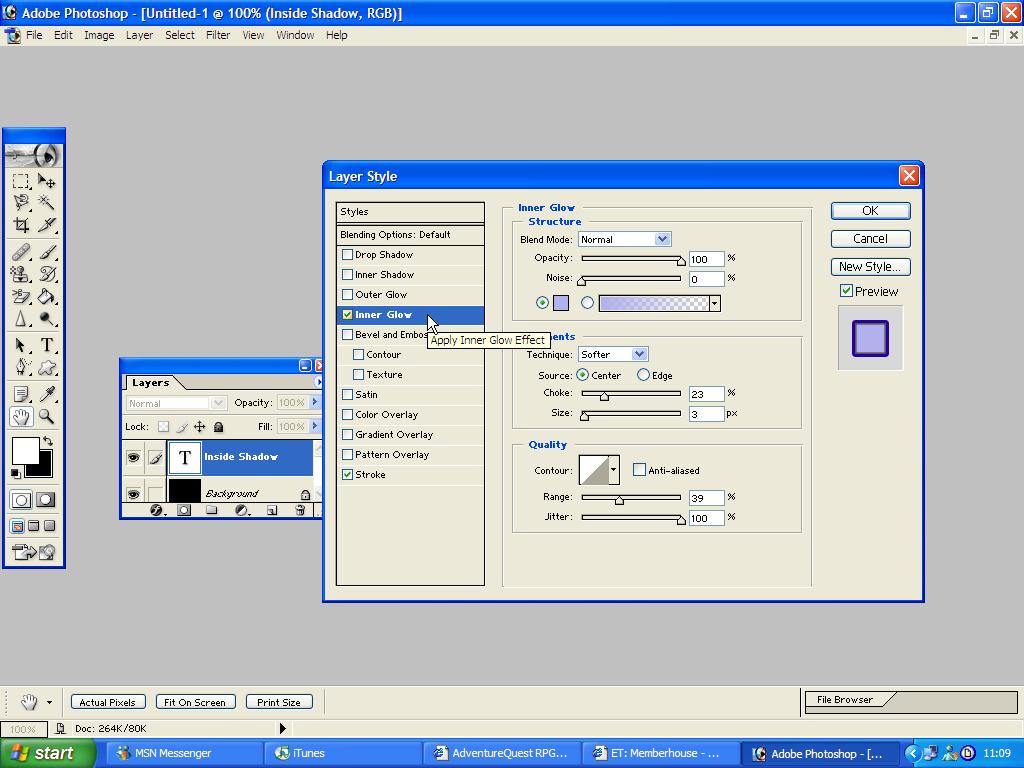
Fig 7)
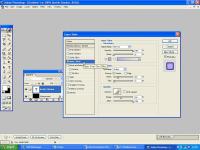
Now, if you go onto 'Inner glow' to the left of the box and click the little white box to tick it, we can start fiddling around with the options. :) I'll put everything in a table so you know what to do. The image above should help you too, but I'm nice so I'll make things easier. ;)
Inner Glow Structure
Blend mode: Normal
Opacity: 100%
Noise: 0%
Tick the small coloured box, then click on the coloured box, change the colour to this one, put the code at the bottom right. ;) Code: B1B1ED
Elements
Technique: Softer
Source: Center
Choke: 23%
Size: 3px
Quality
Leave the box next to the bigger box unticked. :)
Range: 39%
Jitter: 100%
Now just leave this part for now, and click onto 'Stroke' which is at the bottom of the colummn of different techniques. It's ticked in the image above too. :)
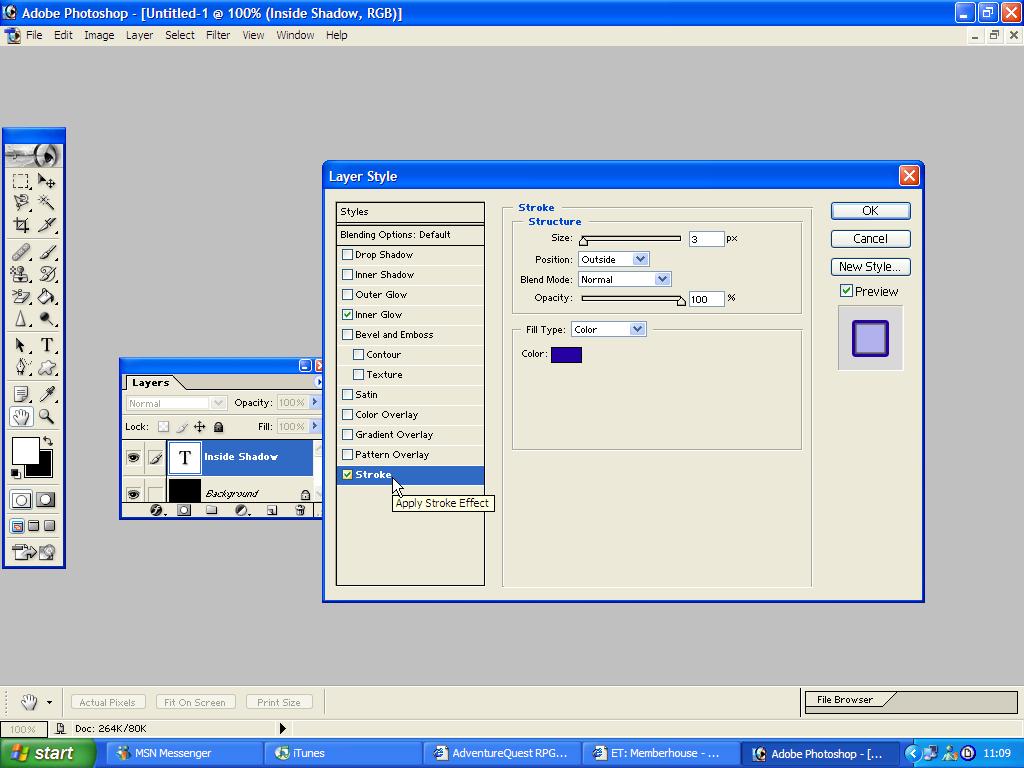
Fig 8)
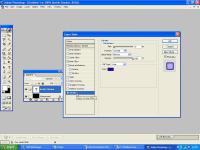
So now that we are on the 'Stroke' section, we need to change the settings. I'll do the same as I did before, put it in a table. :)
Size: 3px
Position: Outside
Blend mode: Normal
Opacity: 100%
Fill type: Colour
Colour: Click on the box and type in this code: 2700A4
Now you can click 'OK' and look at the finished results! ;)
Fig 9)
Finished! Do whatever you like with it now. Crop it, add a picture, whatever you feel happy with it. But don't forget to save! ;) Saving is easy, just go onto 'File' like you did before, then go onto 'Save As', pick a name for your image and click 'OK'! Done! :)
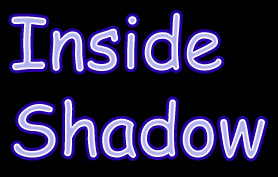
Fig 10)
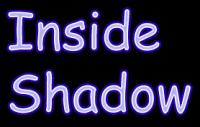
Finished image, cropped and done! :)
Any questions can be asked in the comments box, or you can ask me, [Atayemi]. Thank you for reading. :)
Back to Elftown Tutorials
 Stumble!