Easy Rain
All the reference images are thumbnailed.

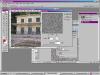
Pick the image you want to add rain to. It can be either a Photograph or a drawing. Whatever you like :)
Create a new layer and fill it with white.
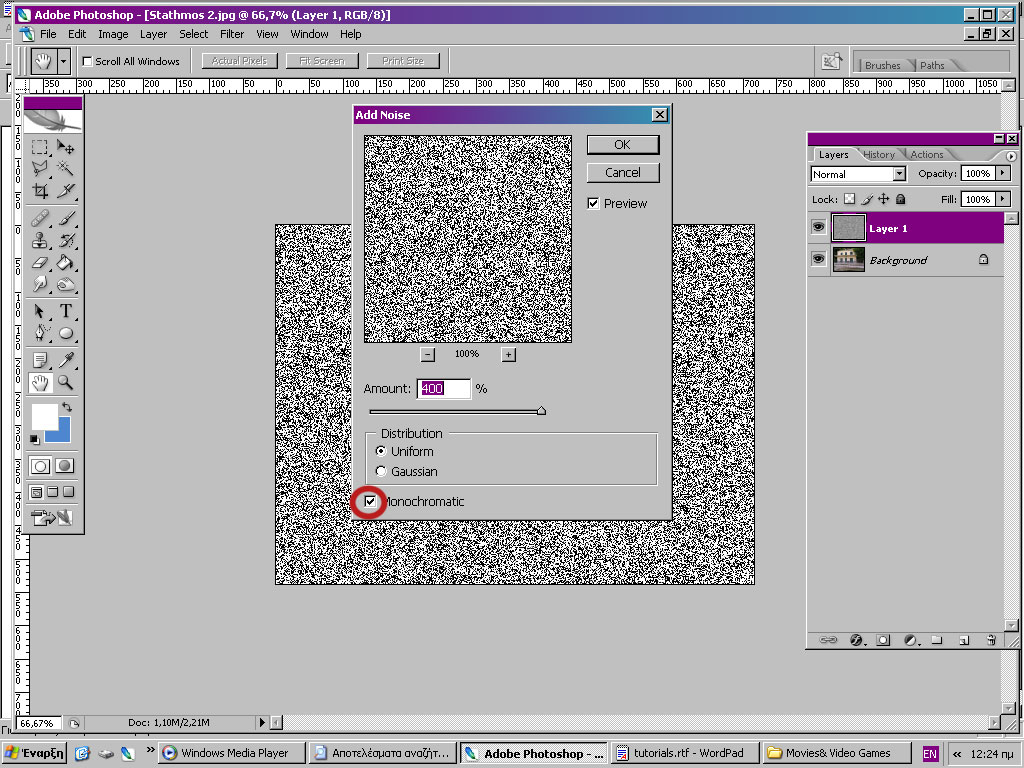
Go to the menu Filter> Noise> Add Noise. A pop up window will appear.
Adjust the amount according to your liking. More if you want heavy rain etc and make sure 'monochromatic
' is ticked. Click OK
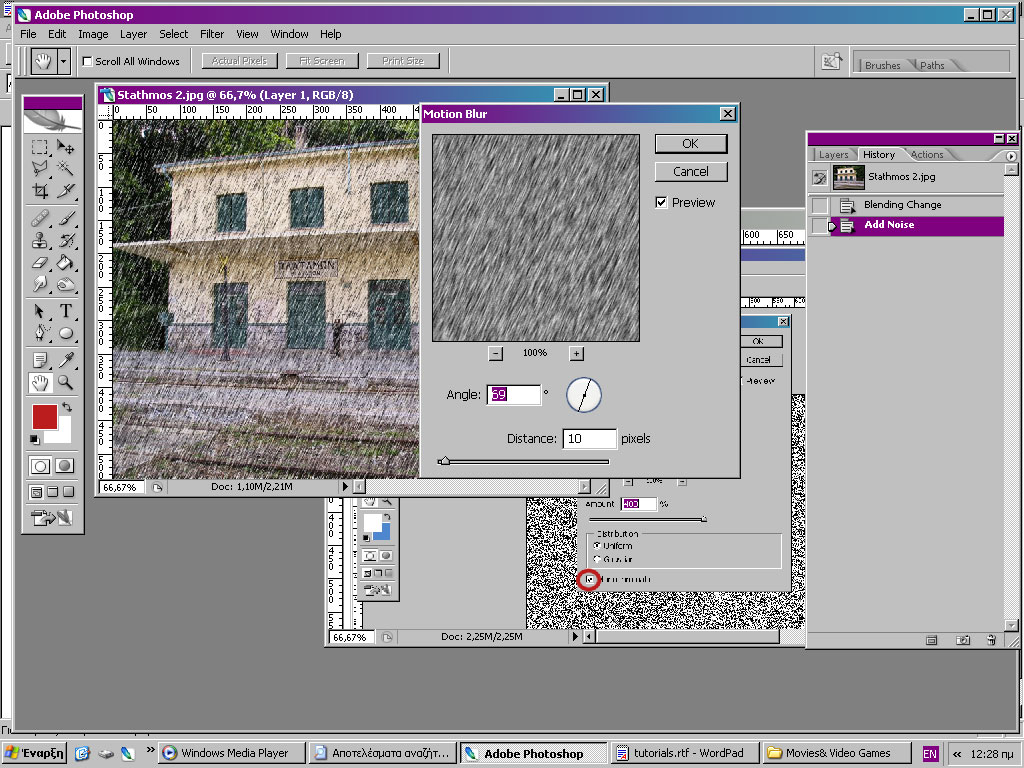
Go to the menu Filter> Blur> Motion Blur. A pop up window will appear.
Adjust the angle according to the wind direction you want to have and choose a Distance of about 10 pixels. Click OK
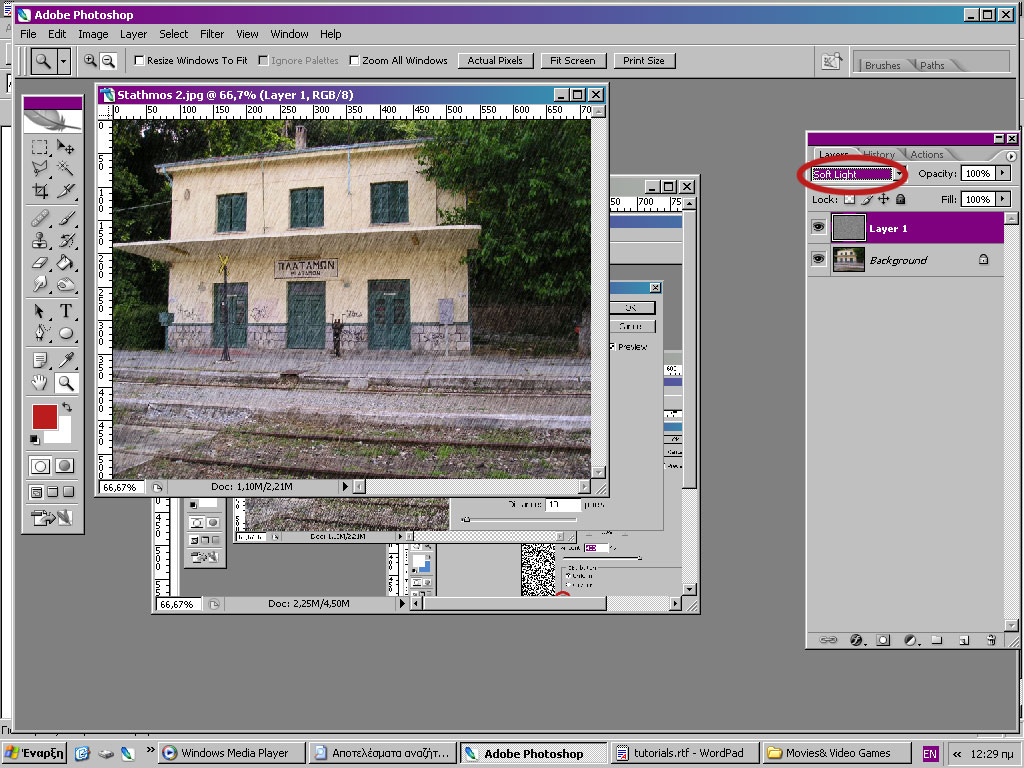
Yay! We're almost there! According to the light your image has you must choose a blending. Go to the Layer Palette (If it's not there go Window>Layers) And play with the blendings until you're satisfied. I usually use Soft Light or Pin LIght. Sometimes Overlay seemed good too.

-Go back to
[Jitter] or or Jitter's Tutorials or Elftown Tutorials
| Show these comments on your site |
 Stumble!