Page name:
How to create a starry night [Logged in view]
[RSS] 2009-01-28 08:54:01
|
# of watchers: 1
|
Fans: 0
| D20: 15 |


Make a new file or Layer (whatever floats your boat)
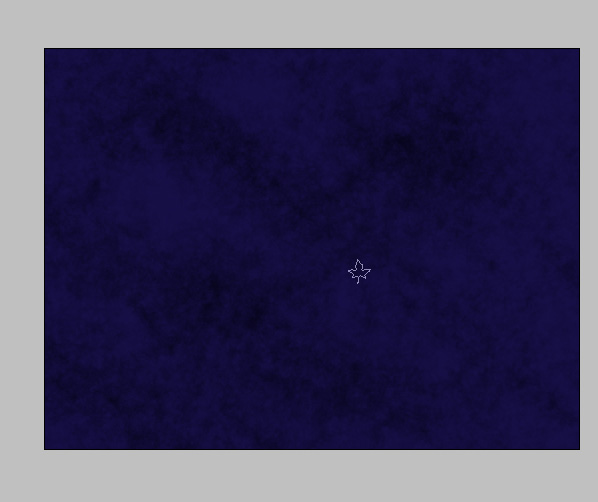
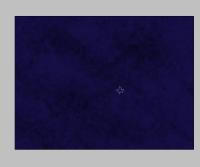
Pick a dark Blue colour and fill your layer. This is your background. I used #160f46

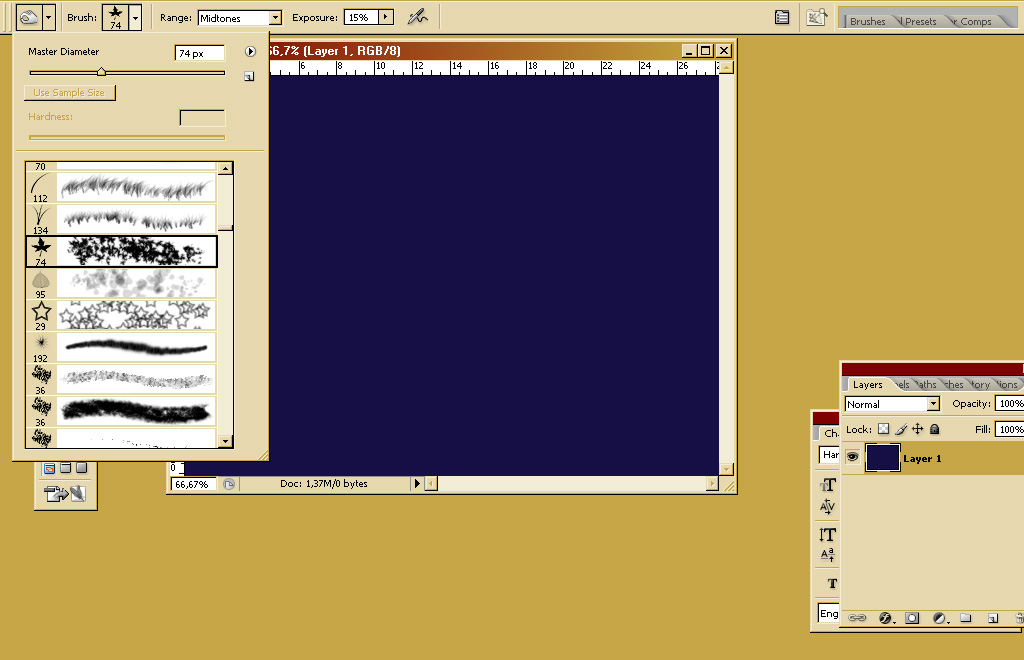
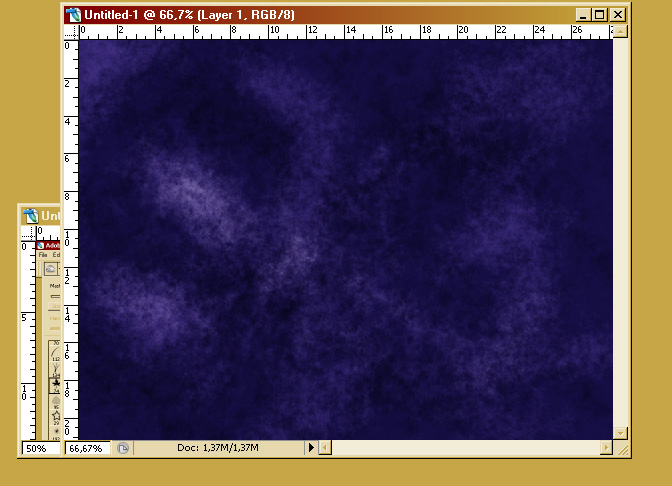
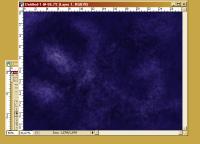
Pick the Burn tool and pick the maple leaf brush. (Comes default with Photoshop) Set the exposure to 10-20% and go over your background darkening it. Leave some light areas untouched.
Pick the Dodge tool and the leaf brush again. Set the exposure at 20-25% and go over the lighter areas that you left.
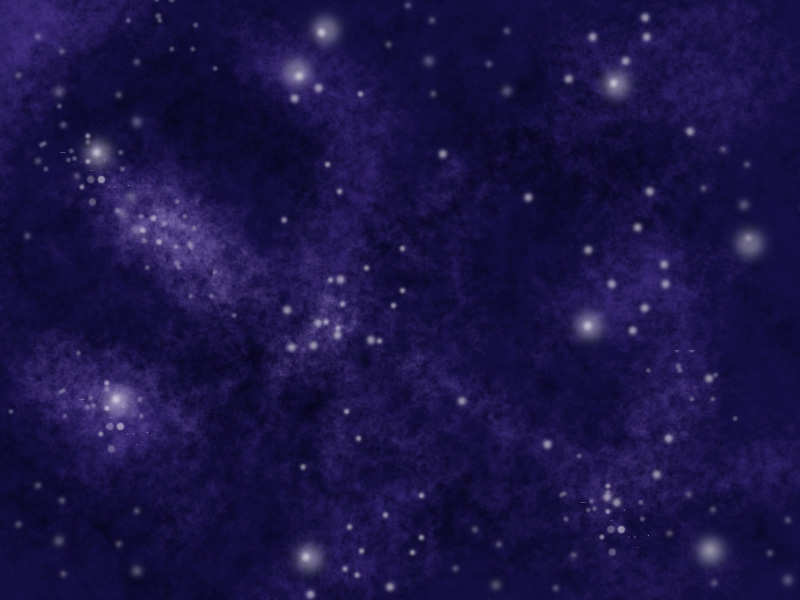
Make a new layer and pick a soft brush. Set the flow at 20-30% and star painting stars. It's easier if you se the mouse for this. If you're lazy like me you can create a few stars and then copy/paste accordingly. If you want look at real starry sky pictures to make your effect more realistic.

Make another layer and use the same brush but a bigger size. Go over your bigger stars and make them glow. When you're done set the layer opacity to 70%
Enjoy your night sky! You can also make red and orange etc skies this way :D

-Go back to
[
Jitter] or or
Jitter's Tutorials or
Elftown Tutorials
| Show these comments on your site |
 Stumble!