Page name:
Make an image in Sepia Tone [Logged in view]
[RSS] 2009-01-28 08:52:32
|
# of watchers: 1
|
Fans: 0
| D20: 14 |
 All the reference images are thumbnailed

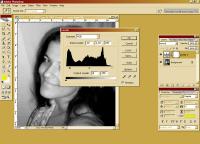
-Choose the image you want to change into Sepia. I will be using this one:

-Go to Image> Adjustments> Desaturate (keyboard code Shift+ctrl+U). If your image is already grey go to Image> Mode and make sure it is set to "RGB"
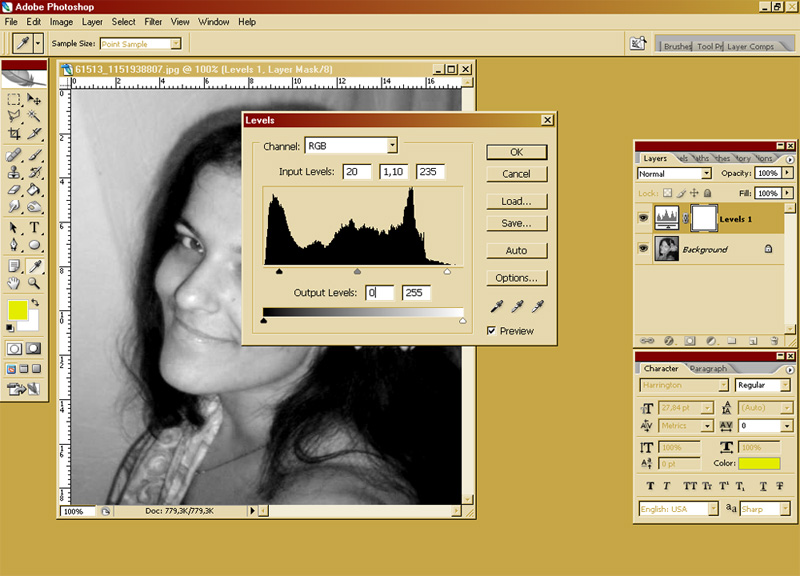
- Go to Layer > New adjustment layer > Levels. Click Ok and then select "RGB" from the drop-down list and fill these values in:
Input: 20 1,10 235
Output: 0 255
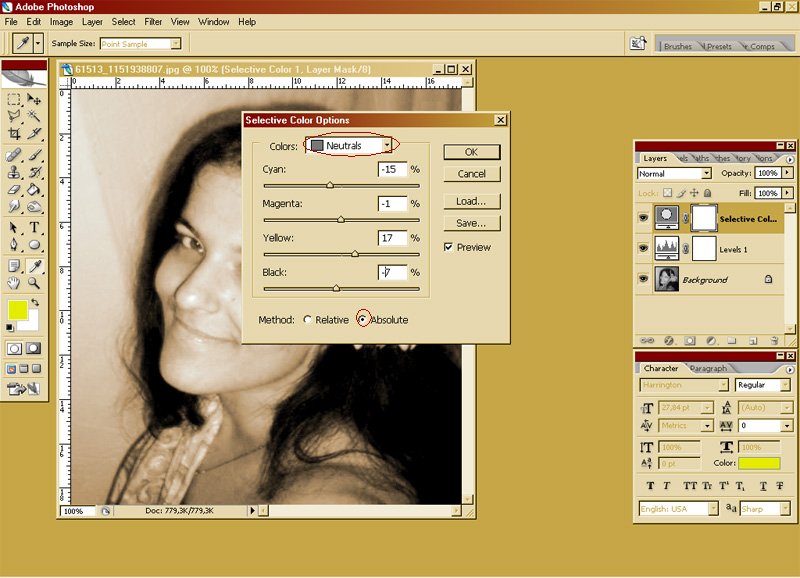
-Go to Layer > New adjustment layer > Selective colour. CLick ok and then check "absolute".
Select "Neutrals" from the drop down menu and fill these values in: -15 -1 +17 -7 DON't hit ok yet!

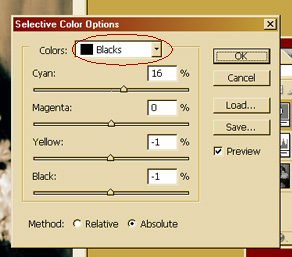
Select "Blacks" from the drop down menu and fill these values in:: +16, 0, -1, +100 (if your image is light) or -1 (if your image is Dark with intense shadows)

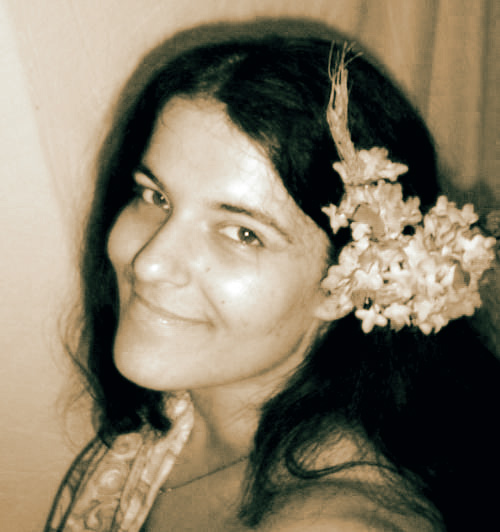
-Tada! Your image is ready!

-Go back to
[
Jitter] or or
Jitter's Tutorials or
Elftown Tutorials
| Show these comments on your site |
 Stumble!