Putting Images Together Digitally
By [
stuffAEAmade]
Scanner too small for your art? Digital camera won't do?
Try this, it might help you out. All you need is a graphics program with layers.
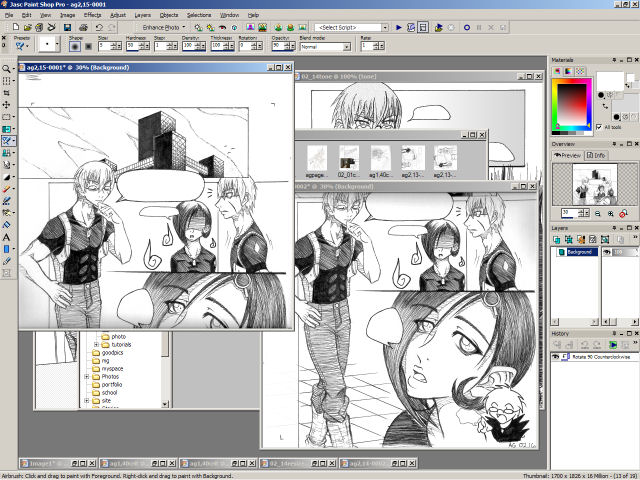
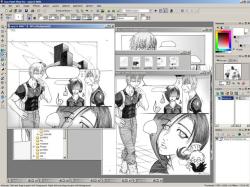
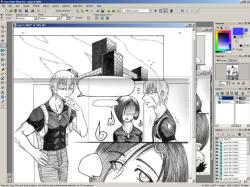
Scan in the parts of your image. Keep the settings (dpi, threshold, sharpness, etc) the same for all of them, and make sure you have an overlap.
Then open your pieces in a graphics program and rotate if neccessary.
 I have to do this all the time with my mangas, because the scanner clips off the edges.
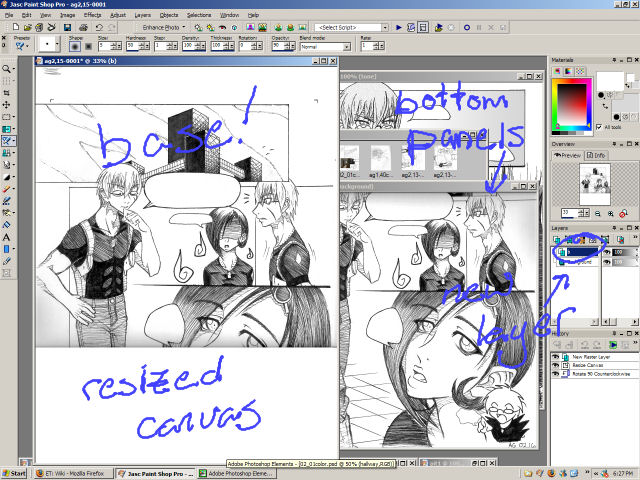
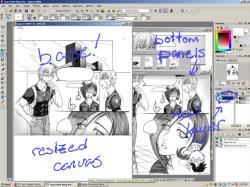
Decide which one to use as the base, and increase it's canvas size so the other will fit when pasted in.
(That's Image > Canvas Size... in Paint Shop Pro)
Then create a new layer to paste the bottom one into.
Copy you other piece, and paste it as a new selection onto that new layer. Just click it down anywhere for now.
Notice that we now have a 'floating selection' layer? When we get the bottom piece lined up, it will defloat onto layer 'b' instead of the top piece.
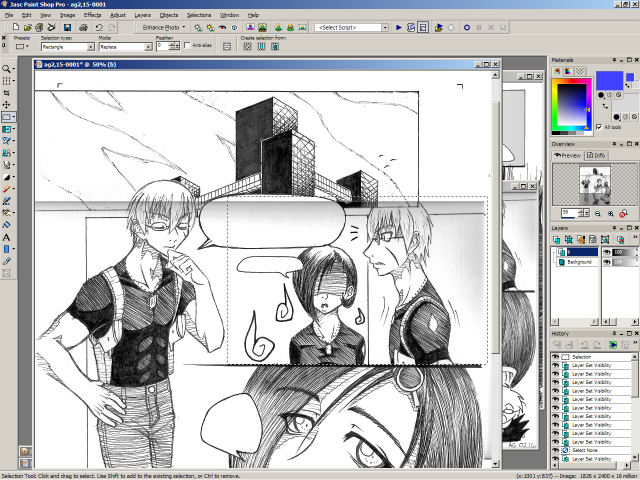
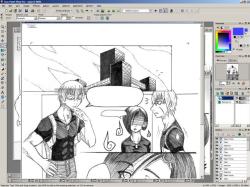
Anyway, zoom in and start to line up the pieces. Click the visibility of the 'floating selection' layer on and off to see how you're doing.

Okay, it's not absolutely perfect, but it's close enough for my purposes. Defloat the bugger.
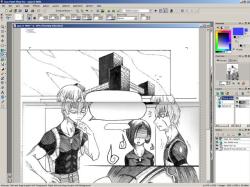
The edge of the image turns grey where it wasn't in direct contact with the scanner bed. Select part of it.
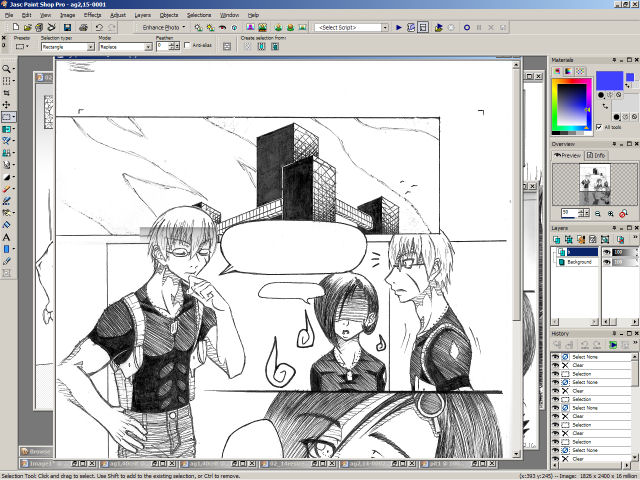
And delete. This tends to work nicely for comic/manga where you can remove the entire offending panel. The figure of the left can be problematic.
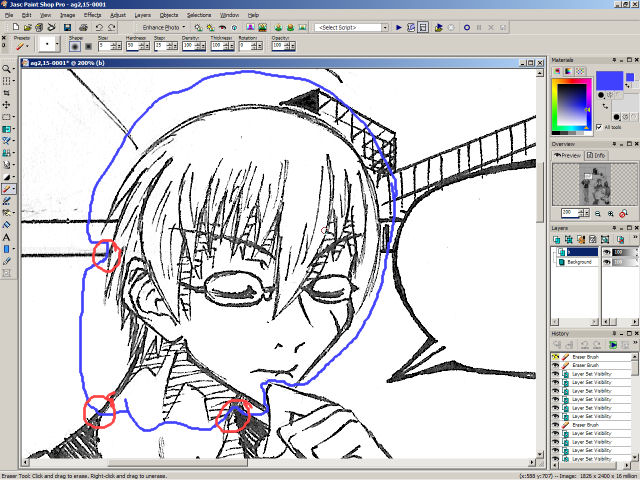
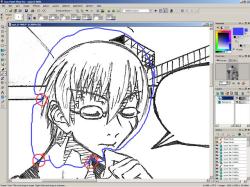
Zoom in and start removing the grey with the eraser brush. Look at the image before hand, to spot places with few lines that will be easiest to work with. In this case, the neck. The area surrounded by the blue line was removed, and the places it lines up circled in red.
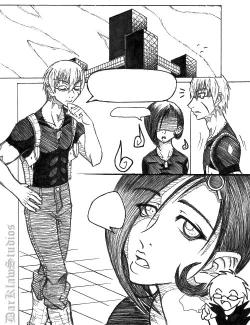
There you have it. Once the edges are cropped and the image is resized and cleaned, you can hardly tell they are two seperate pieces!
 Stumble!