Wiki:
Page name: angel bunny walkthrough 18 [Logged in view] [RSS]
2004-07-20 00:53:43
Last author: liiga
Owner: liiga
# of watchers: 1
Fans: 0
D20: 11
Bookmark and Share
Back to angel bunny walkthrough 17 - rough landscape
Back to angel bunny walkthrough - index
On to angel bunny walkthrough 19 - more lights

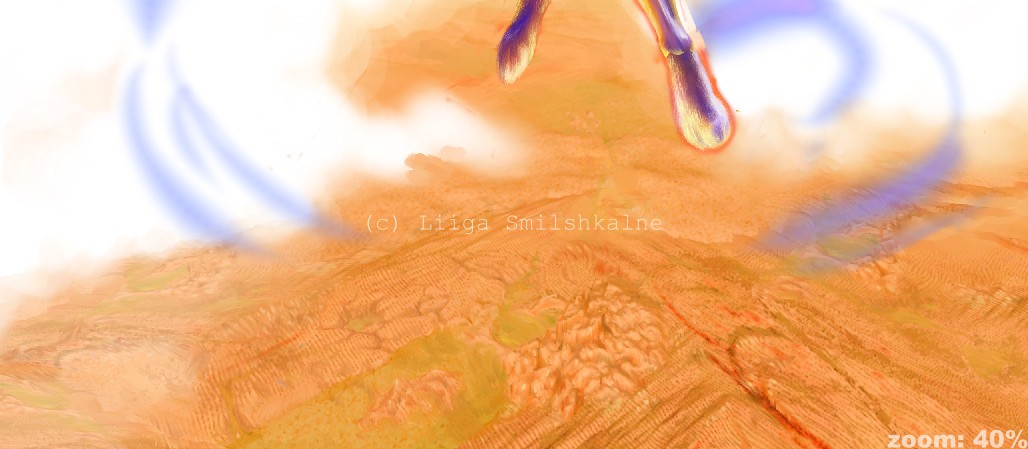
18. Put the image in the background, the first layer above canvas (which was left blank all the time). Adjusted hue and saturation to get the feeling I was going for, and applied Super Soften (at 3 pixels, I think) to create the effect of atmosphere, distance, and partially get rid of the sharp edges and digital feeling. Now took a small brush, and went over everything, adding cracks, an island, rivers, different densities of 'trees', refine everything. Took 2 days to do.

<img:stuff/18%20desert%20refined.jpg>

Close-up:

<img:stuff/18a%20desert%20refined%20100%20zoom>

Back to angel bunny walkthrough 17 - rough landscape
Back to angel bunny walkthrough - index
On to angel bunny walkthrough 19 - more lights

Username (or number or email):

Password:

Show these comments on your site

Elftown - Wiki, forums, community and friendship.