Herringbone Wire Weave Bracelet Tutorial
 This wrap is very versatile. Use smaller beads for earrings or larger gemstone pieces (with drilled holes) for pendants.
Tools needed:
This wrap is very versatile. Use smaller beads for earrings or larger gemstone pieces (with drilled holes) for pendants.
Tools needed:
Round nose pliers
Wire cutters
Bent nose pliers
Tape measure/ruler
(I also find wire straightening pliers helpful)
Materials needed:
10mm beads
10' dead soft 24g wire (practice with silver plated)
Clasp of your choosing (I used a toggle)
Soldered jump rings
Instructions:
1. Cut a 14" length of wire
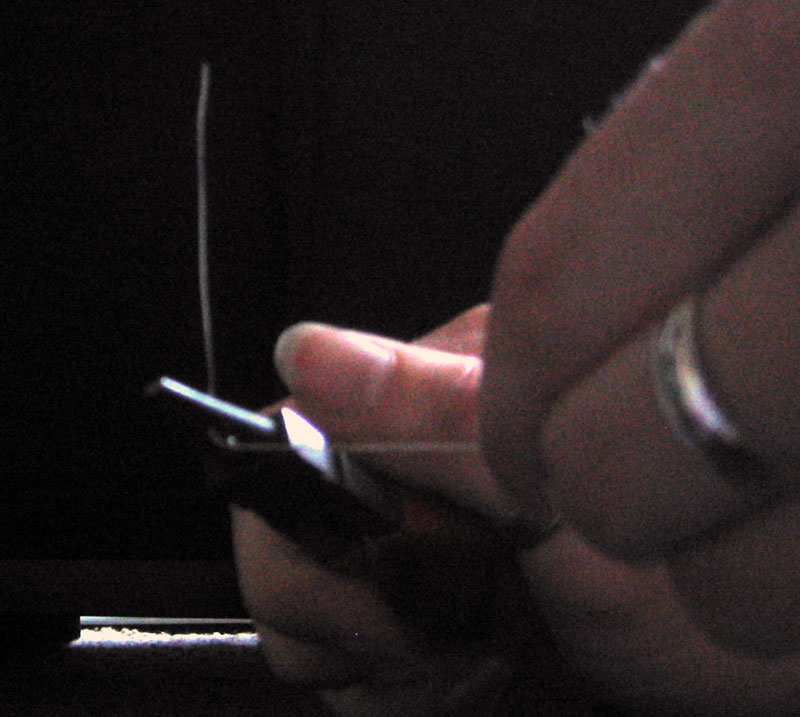
2. Bend at a right angle 2" from one end
3. Create a loop with the round nose pliers
4. Add one end of clasp
5. Wrap wire 8 times - with pliers or by hand, up to you
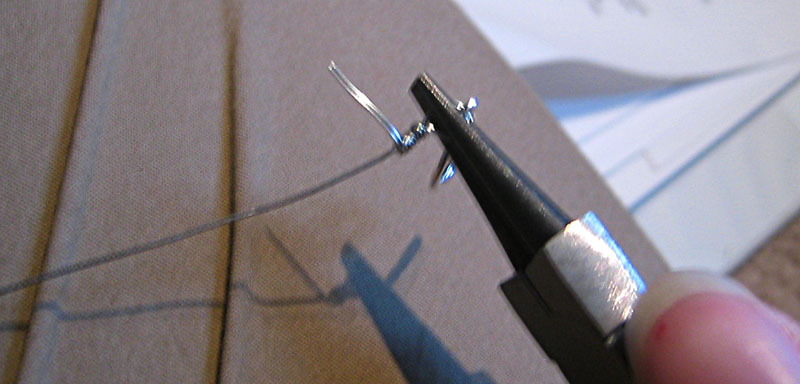
6. Cut & tuck that wire
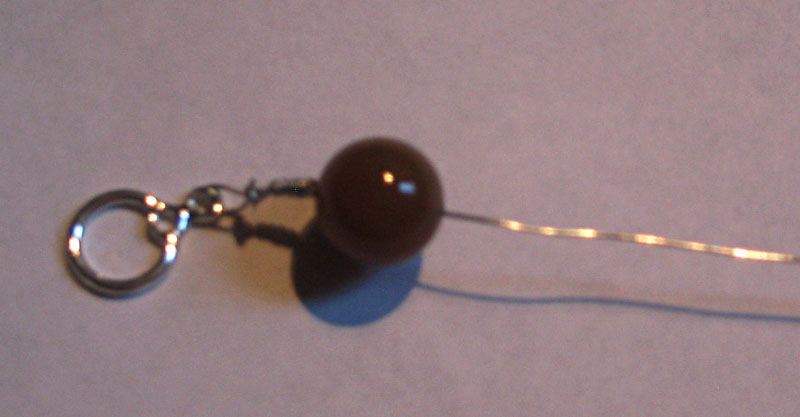
7. Slide on bead
8. Measure the wrap you just made and create the same amount of space next to the bead.
9. Bend wire into a right angle at that spot.
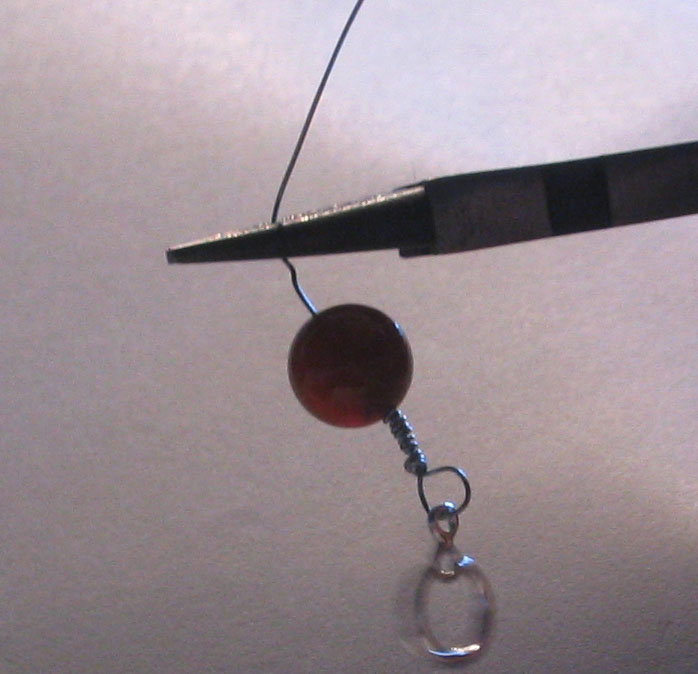
10. Create a loop.
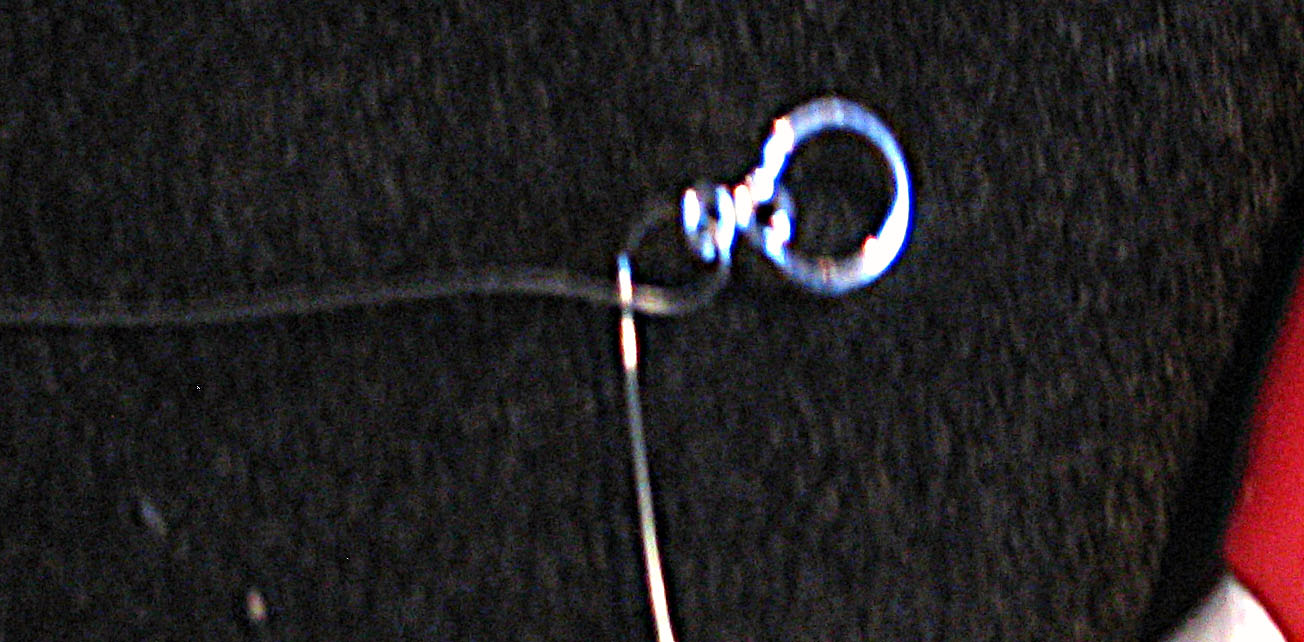
11. Add a soldered jump ring
12. Wrap wire 8 times, end right next to the bead
13. Don't cut this wire
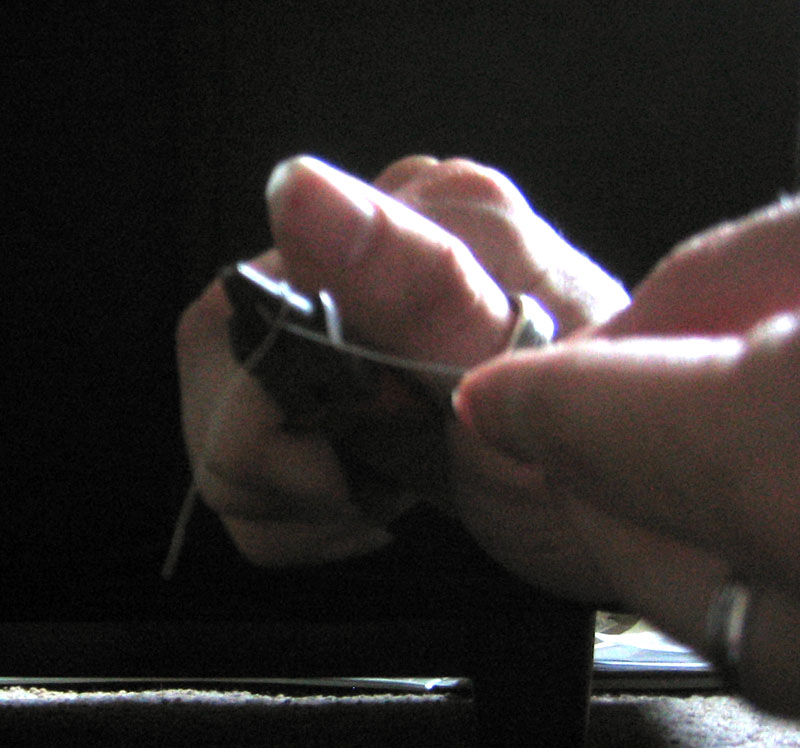
14. Wrap this working wire against the bead and across to the clasp side.
15. Pull wire to the top of the wraps and continue until you have made a complete circle
16. Flip bead so the finished wrap is on top and bring wire flush up against the bead back to the link side. Do not turn bead over - there is a definite front and back. Turn it like a steering wheel.
17. Pull wire to the top of wraps and continue until you have made a complete circle.
18. To create next wrap, bring the wire back around the bead with the wire below the last wrap and tight up against the bead
19. Wrap wire to the front of the wraps and again to make a complete circle
20. Repeat steps 14-19 until you have 3 "weaves" on each side of the bead
21. To finish wire, wrap around stem two times, cut and tuck
22. Repeat all steps until the bracelet is the desired length. On the last bead, add the second part of the clasp instead of a jump ring.
*Alternative - you can use open jump rings and connect the pieces instead of adding soldered ones each time
Sorry for the poor quality of the pictures. I had a hard time taking them with my left hand and/or using the timer. :( Pictures of the actual wrap are forthcoming when I have someone around to take pictures.
Materials/Supplies Needed
 Step 2
 Step 3
 Step 4
 Step 5
 Step 7
 Step 9
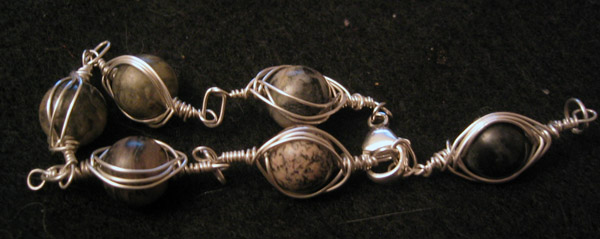
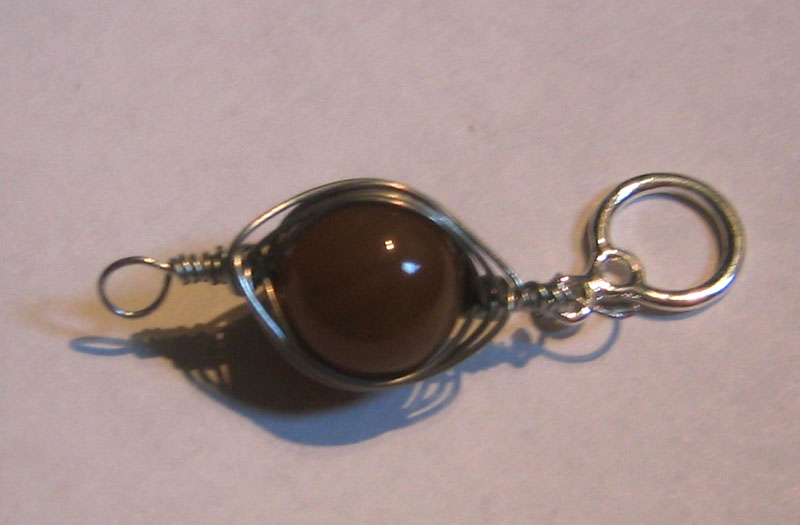
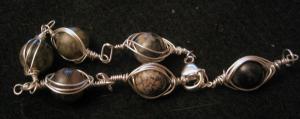
 Finished wrap

Return to
irulan's wire jewelry tutorials
Return to [
irulan]'s house
 Stumble!