 Welcome to Hummingbird's Rain Effect Tutorial!
To see how to make rainstains/dropplets please see [Zab]'s Rainstains tutorial :3
Welcome to Hummingbird's Rain Effect Tutorial!
To see how to make rainstains/dropplets please see [Zab]'s Rainstains tutorial :3

Ok guys here is is, no do not touch it, its wet ;3 I said dont touch it! Aw now look, your soaked <-_-> Nevermind.
 Right
Right its time to get started. Here I'm using Adobe PS
Elements this is no where near as good as the full virsion. But its fine for what were doing at this stage :3 Remember this is just my way of doing it, I find this way fast and easy.
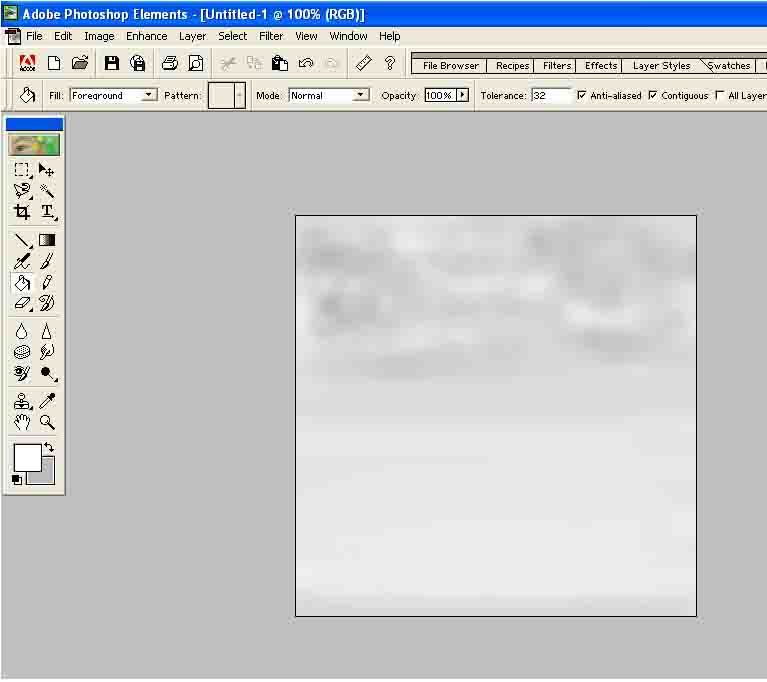
Now you need to start off with a suitable pic, here I've quickly whipped up a stormy sky with the paint brush tool, you of course can take more time than me :)
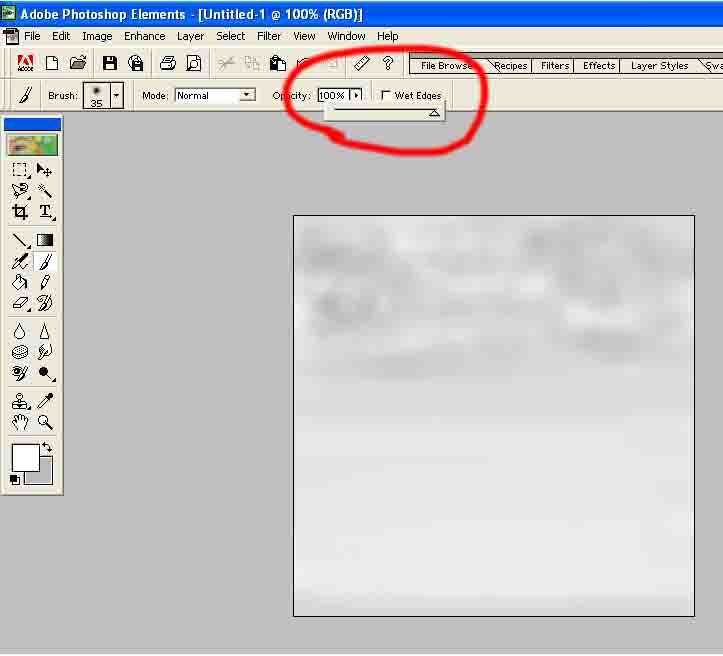 Once
Once your happy with your picture keep with the paint brush but head up to opacity setting and crank it up to 100%, you'll undersatnd in just a sec!
 Right
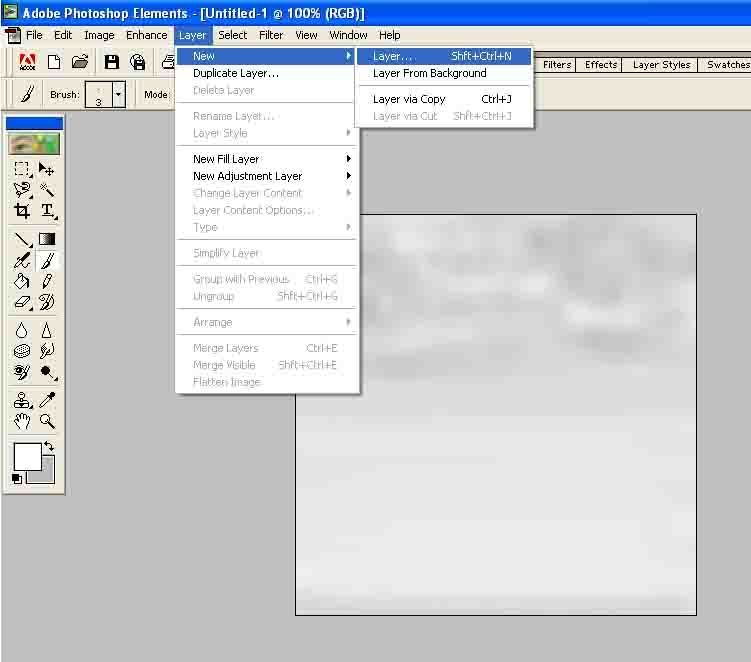
Right now here's the important part, you'll have to make layers, its not that hard belive me! Just go to the layer option as shown and click 'new'.
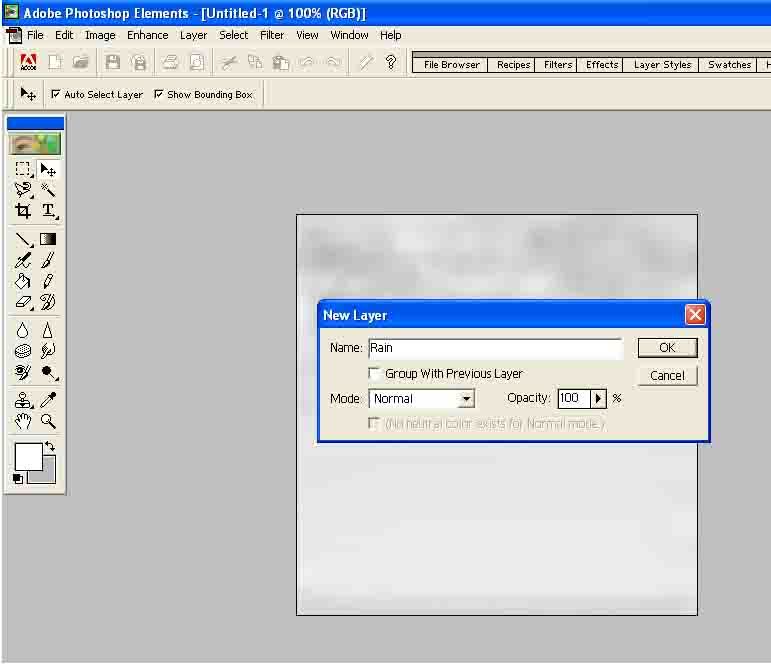 For
For this simple effect I just rename this layer 'Rain' see? Nice and simple, ignore my spelling mistake XD
Now this is to work on, its like a sheet of see through plastic put down over your picture. We'll be using a blur effect soon and without this layer covering it you'll blur up all of your clouds to! Messy huh?
 Ha
Ha ha ha whats she doing now your thinking? It works belive me <:3! With your brush still set and 100% start making little downward strokes, its best to keep this short, its more realistice that way :)
Omg wheres the rest? I only have a few lines? That can't be it!
Calm down and turn the page ;p
Rain Effect - Second page
Enjoying yourself so far? Got those fingers going? Whats next huh? anything else you can work on? of course there is! What do you take me for? a lazy person?? Dont answer that >:3
Back to
Hummingbird's Tutorials for more!! Or run the other way, which ever works for you :3 get back here!!
 Stumble!