[
Zardra]'s portrait painting tutorial
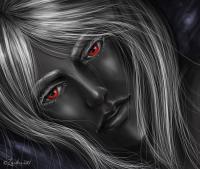
I made this for my school term paper about digital art and thought I could show it here too =)
I don't know if this actually tutors anything. ^^;
If you have any questions, be free to ask =)
This is sort of a semi realistic style with a twist of fantasy/anime influences.
Or something
=P
Program: OpenCanvas 4
But you can of course use what ever program you have =)
Brushes used:
Watercolor brush for painting the base, bg and shadows.
Lights, details and hair done with the Airbrush.
[
Click for full view, it's HUGE]

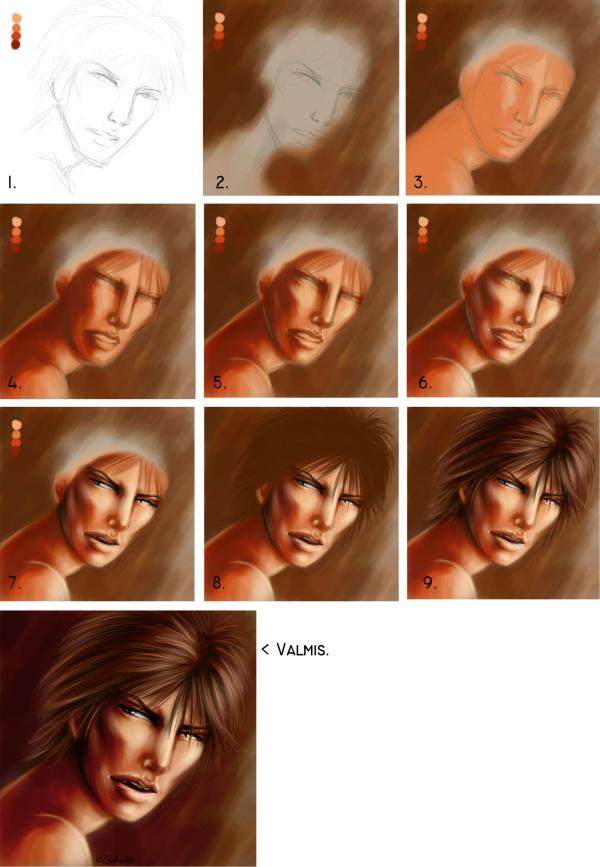
1. Sketch the simple sketch for the portrait and choose the colors you are going to be using. One is the base color, the second and third are the different shades.
After those I usually use what ever comes to mind.
2. I always make the background before the character so I can make sure they blend together well and the colors will fit.
At this point I have 3 layers: Lineart on the top, color dots on the second one and the bg on the bg
I hate backgrounds, so I usually leave it very simple so it won't distract the eye from the character.
3. I lay down the base color of the face with the help of the lineart and start to refine the shadows with a color that is close to the base. There is no need to be very clean at this point.
Choose where your light comes from and shadow according to that. My light comes from the right.
4. start to darken the shades more with the second shade color and make more details with a smaller brush. I use at least 3 different size brushes and change the opacity depending on how dark I want the shadows to be.
Remember where your light source is so the face will stay 3D.
5. Start adding light where the light hits the face and add some almost black where it's the darkest.
If you are unsure where everything should be, USE REFERENCE there are millions of pictures of faces online that you can look at when painting.
6. Add more light with a smaller brush and dark where the very dark shades are (the corner of the eye, under the chin and so on) and where the light won't touch.
Start defining the smaller details of the face with the lights more. At this point I used a white brush (Opacity very low, about 3 %) and painted over the light places to make it softer and removed some shades that had turned too dark, making the face look too stark.
7. I turn off the line art layer because there is already enough details to go on without it and it's just distracting now.
I added the little details into his mouth (you can see a bit of his teeth but the mouth is still dark because light can't get in there) and the eyes, this is another good place to look at REFERENCES if you're not sure how to make the eyes. Remember to add the light source into the reflection of the eye to make the character look more alive.
This particular character has slitted pupils so that's why he looks extra fierce (or so I hope =P), rawr.
And wooow, it's a face =P
8. The dude needs a hair X3 So, paint brush strokes to define where the hair goes. The brush can be rather large and with a small opacity so the hair will look flowy and fluff
9. add light to the hair where the light hits it, and dark where it's in shadow. start from big strokes and move to smaller ones. Once again, there is a huge amount of hair tutorials online. ^^
Finish with some BIG brush strokes with almost white and almost black to make the hair look soft and shiny. (small opacity)
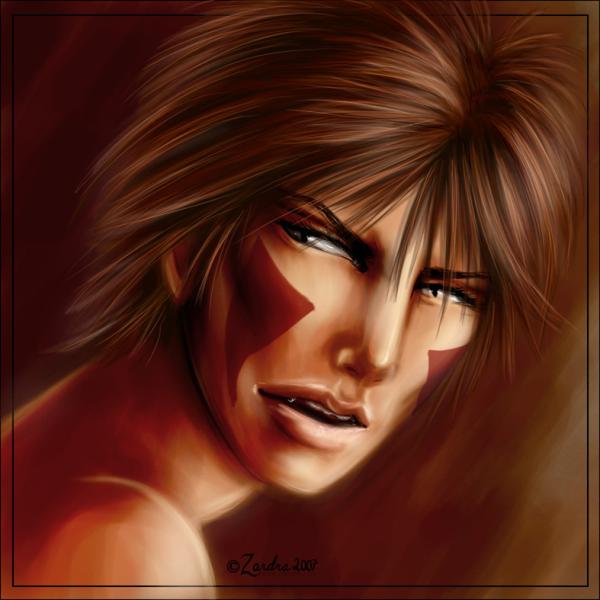
10. I moved the pic to Photoshop CS, changed the contrast and lowered the saturation, making the picture a bit darker and... less saturated XD
I added some details: the sharper teeth, the nostrils (with a black brush, opacity about 50 %), and some light and red'der color to the lips.
added a sig. and voila, it's done =D
[And some useful tips]
- don't use black in the shadows, it makes the picture too dark and the contrast is too high, use a dark shade of the colour you use anywhere else in the pic.
- you don't have to detail the WHOLE picture, just add details to where you want to attract the watchers eyes to.
- If you want the "mood" to look warm, use yellow light, not white.
- use "backlights" to make the character more 3D
- The eyes give a soul to the painting, so be sure to detail the eyes and show enough emotions in them. (and even men have eye lashes ;D)
- hair frames the face, so use time to make that too, don't forget the little hair strands that has ran off onto the face, those will make the face more alive <- remember to shade under the hair so the hair wont look like a floating wig.
- the way you crop the picture, refines the mood of it. If the cropping is very close to the face and shows nothing more than just the face, use a lot of details. If you crop so the shoulders and even the chest is shown, not so much details are needed, but the whole structure of the painting has to fit, so don't slack on the shoulder area. =P
- USE REFERENCES! =P

the finished pic. I wanted it to turn into Kiba from Naruto, so I added the red tattoos in Photoshop. ^^
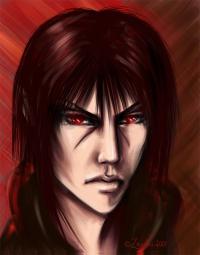
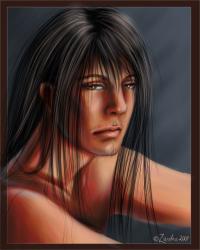
Other portraits done with the same style:

Painted with Painter IX

Painted with OpenCanvas 4, the smaller details added in Photoshop CS

Painted with OpenCanvas, completely.
back to
Zardra's tutorials
back up [
#]
 Stumble!