Wiki:
Page name: wing tutorial 2 [Logged in view] [RSS]
2004-07-18 01:32:29
Last author: liiga
Owner: liiga
# of watchers: 2
Fans: 0
D20: 18
Bookmark and Share
Back to wing tutorial 1 - sketch
Back to wing tutorial - index
On to wing tutorial 3 - grouping

2. Then, you start drawing in vector feathers. For a fill, it's best to use a gradient that has colors different from your background. You use gradient so that you can easily tell apart between individual feathers, so that you know what you're drawing. It's not a bad idea to use a reference to check how feathers overlap each other. When drawing them, you start with the longest feathers, because they will be underneath all other ones. Then draw the middle row, then draw the 'hand' part, then the upper rows of smaller feathers. Okay, now you have a pretty basic wing, with nice vector feathers. They look very boring though, and not all that realistic (depending also on how lucky you were with your gradient).

<img:stuff/2a_vectorslong.jpg><img:stuff/2b_vectorsmiddle.jpg>
<img:stuff/2c_vectorssmall1.jpg><img:stuff/2d_vectorssmall2.jpg>
<img:stuff/2e_vectorssmall3.jpg><img:stuff/2f_vectorssmall4.jpg>

Back to wing tutorial 1 - sketch
Back to wing tutorial - index
On to wing tutorial 3 - grouping

Username (or number or email):

Password:

2005-07-23 [LauRRa]: Did you use the average digital painting programs such as photoshop, painter..etc? Or did you use something special?

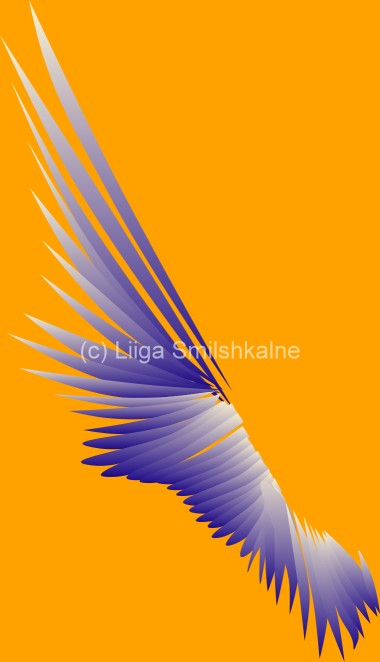
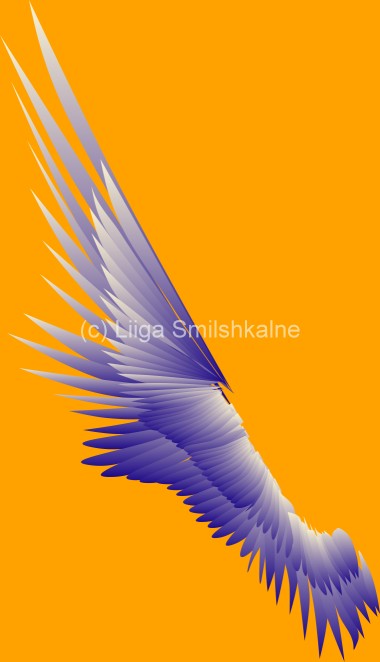
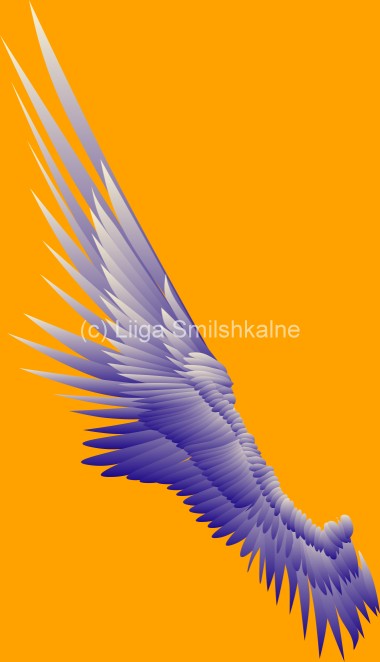
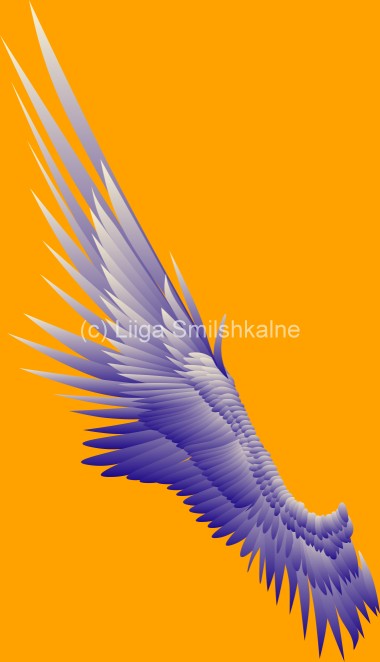
2005-07-23 [liiga]: Quoting the intro page: For this tutorial, I use two programs - Ulead Photoimpact 8, and Corel Painter 8. It's possible to make pretty wings just with UPI or any other similar vector program, and it's actually advised if you're stuck with mouse or don't want your hand to fall off from drawing an excessive amount of little lines.

2005-07-23 [LauRRa]: Oh...sorry..ok. Thanx..:)

Show these comments on your site

Elftown - Wiki, forums, community and friendship.