Back to
wing tutorial 4 - exporting
Back to
wing tutorial - index
On to
wing tutorial 6 - blending
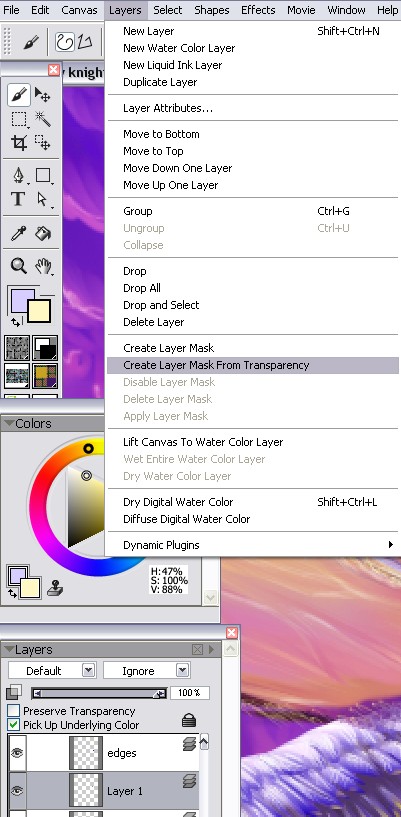
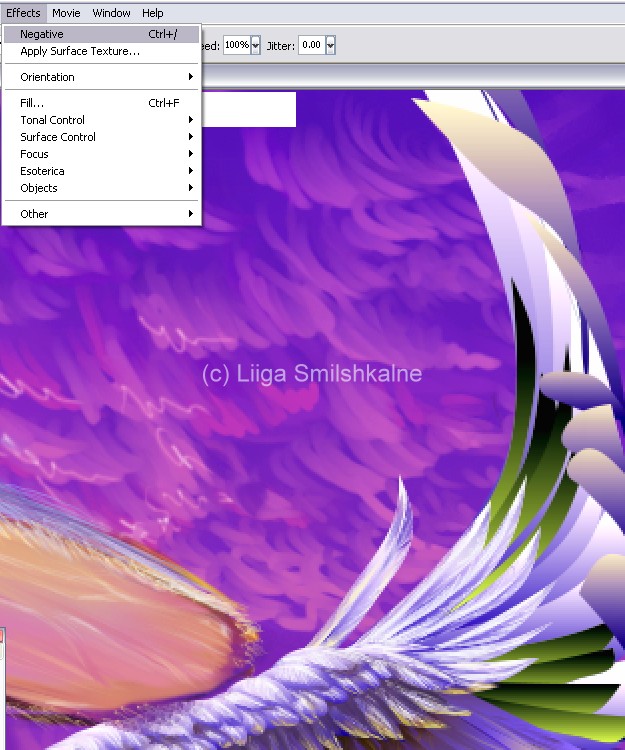
5. Fire up Painter and open the file there. Each of your objects will now be a layer of its own, with a name 'obj-(some number)'. If you want, rename them into something more manageable. Now, select some group - might want to start with the long feathers first - and duplicate the layer. Place the new one exactly over the old one. Now, click on 'create mask from transparency', and then 'negative'. This lets you see exactly where the new layer is. Now, get a big happy eraser and delete it! The reason for doing so is getting a mask in the shape of the underlying group on a new layer. (If there's an easier way to do this, let me know!) The negative was used to make sure you have deleted ALL of the color in the duplicate layer. Why do you want to do this? See now we're going to do all sorts of detail, and if you screw something up, it's easier to just delete the faulty part or check with what there used to be, than start it all over again.
Back to
wing tutorial 4 - exporting
Back to
wing tutorial - index
On to
wing tutorial 6 - blending
| Show these comments on your site |
 Stumble!