Wiki:
Page name: For_Acerbus [Exported view] [RSS]
2011-04-26 21:28:12
Last author: Yuriona
Owner: Yuriona
# of watchers: 2
Fans: 0
D20: 18
Bookmark and Share
Previous: Buxom_Elf_Babe-finalUp: profile gallery 15695Next: Nicole_Rad

 Slideshow 

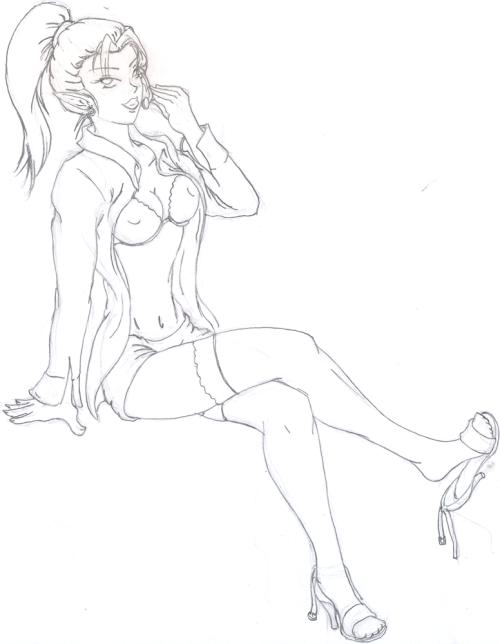
For [Acerbus]

<img500*644:stuff/For_Acerbus.jpg>

For [Acerbus]

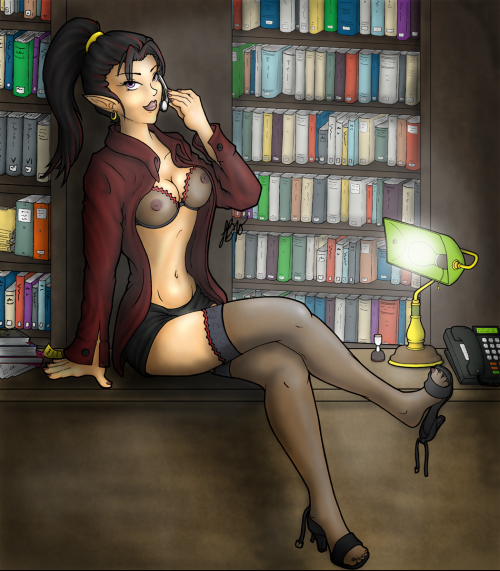
My hubby's birthday was April 26 and going with the 'elf babe' theme, I decided to finally draw him a hot lil' office elf. Pencil sketch was the first step though I really want to actually have her coloured with a background even. Might be a bit of a tall order but he is my husband and all... LOL!


<img150*0:stuff/office%20elf%20babe%20inked.png>
Step 2: Inks... traditional again. OMG!
 
<img150*0:stuff/office%20elf%20babe%20clean%20lines.png>
Step 3: Clean up in Photoshop.
 
<img150*198:stuff/C%3aUsersYurionaDocumentsLee%27s%20StuffDrawingsMy%20CreationsOffice%20elf%20babe%20shading%20wip%201.png>
Step 4: Grayscale shading - progress shot 1
 
<img150*198:stuff/C%3aUsersYurionaDocumentsLee%27s%20StuffDrawingsMy%20CreationsOffice%20elf%20babe%20shading%20wip%202.png>
Grayscale shading - progress shot 2

<img150*198:stuff/office%20elf%20babe%20shading%20progress%203.png>
Grayscale shading - progress shot 3
<img150*198:stuff/office%20elf%20babe%20background%20lines.png>
Step 5: Background lines done. omg... so many books... D:
 
<img150*198:stuff/office%20elf%20babe%20coloured%20prgrogress%20flats.png>
Step 6: Flat colours - after finally getting all those books 'drawn'. GAH!
 
<img150*198:stuff/office%20elf%20babe%20coloured%20progress%20textures.png>
Step 7: Adding textured layers on different blending modes for more realistic look. So far so good...


DONE! FINALLY!!


<img500*0:stuff/office%20elf%20babe%20coloured%20final%20small.png>
Only took me a fawking year to finish too. <img:stuff/curses%20aka%20shake%20fist2.png>


/ [Yuriona]


Username (or number or email):

Password:

Show these comments on your site

Elftown - Wiki, forums, community and friendship.