Page name:
tree tutorial page two [Exported view]
[RSS] 2004-10-27 19:25:13
|
# of watchers: 0
|
Fans: 0
| D20: 7 |
Back to
tree tutorial
On to
tree tutorial page three
Boo, a huge picture!
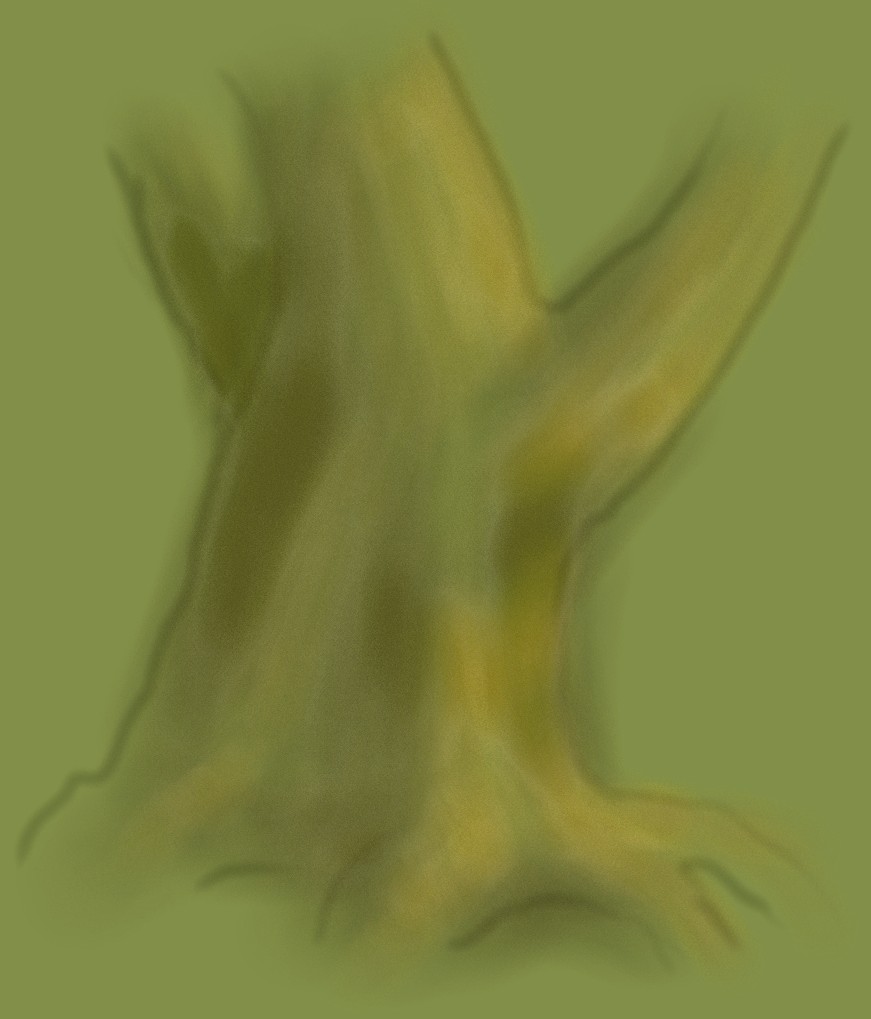
The reason why I'm posting this so huge is to give you a better view of the texture that the airbrush can spit out and show the size at which I was working to draw the image for this tutorial.
What goes on here is that I created a new layer, and used the airbrush at BIG size and low opacity to fill in the basic colors and create a bit of a starting texture. At larger sizes you can get even more interesting effects out of it, do experiment with that.
Remember to vary your colors as you lay them in! Darker and lighter versions of the same hue do not count as varying! Here, for example, I used a warmer tone for the lighter side of the tree, and a cooler tone for the side in the shadow.
Also keep in mind where your lightsource is! It can't be stressed enough - always know where the light comes from, so you can figure out where highlights and shadows should be. Also, keep in mind the
color of the light - the warmer the light the cooler the shadows, and the cooler the light the warmer the shadows. It's the circle of life. 8-B
Back to
tree tutorial
On to
tree tutorial page three
| Show these comments on your site |
 Stumble!