Read through Gimp Coloring now? Good!
Then this will be easy. ;)
 This tutorial are made by [Zab].
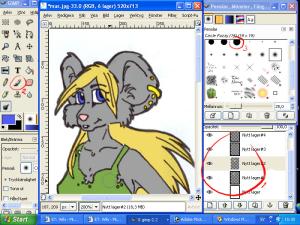
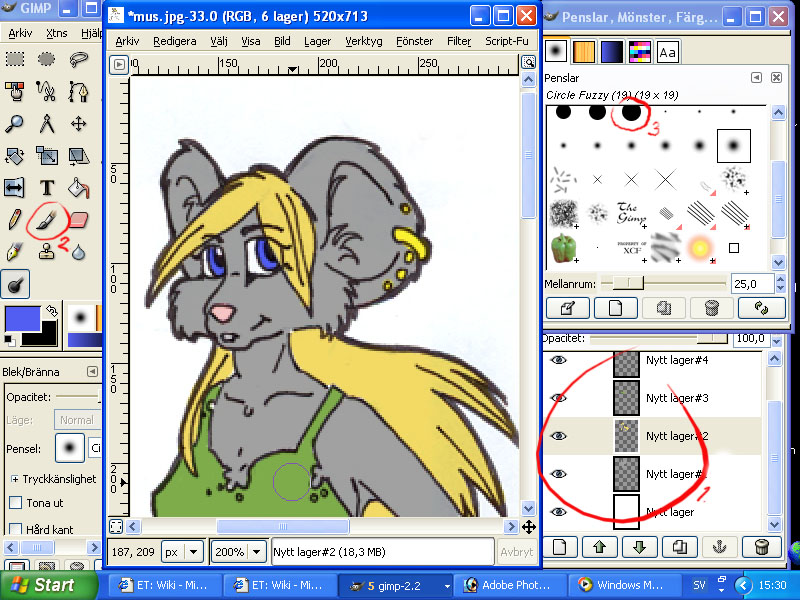
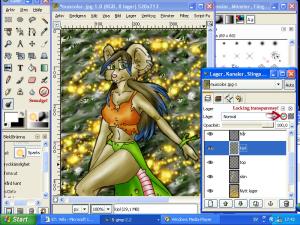
OK. First I usually make a new layer for each color.
You can see how many layers I use (mark. 1.). This is because one: if I make a mistake, I don't have to re-do everything, and two: when I shade, I'm sure the shading will stay at the color I want it on. :)
Make sure to have the color-layer
under the layer with all the linework (the background layer in
gimp coloring) and above the layer with the background.
Then chose the brush tool (mark. 2.) I use a hard one, (mark. 3.) in what size I like best. :P
Use the zoom much when you color, it helps a lot! (it is at the bottom of the 'paper', saying ''100%'' or how much you have zoomed.)
Then I just color on, using a color that's something in between the shadows and the highlights I want. We'll add them.
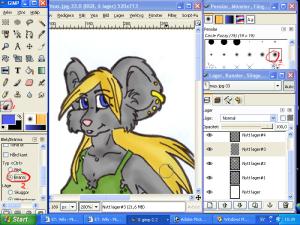
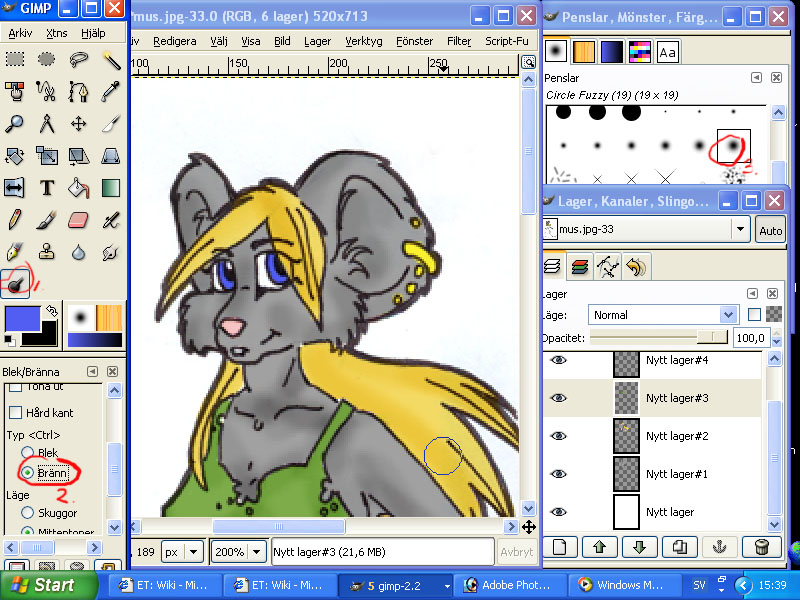
Now chose the dodge and burn tool. (mark. 1.).
Set it on
burn (mark. 2.) and chose a rather large,
soft brush. (Somewhere in that window with mark 2, you can find the settings to adjust how much the tool will burn.:)
Go ahead and burn! :P This will shade your work, don't take too much, it usually don't look good to burn it all black, so take it easy with it.
Remember to have the right layer selected; the one with the color you are going to shade. :)
(Alternative 2: Use a brush and a darker shade of the same colour instead of using the burn tool. Then you do exactly the same. :) But now you will have to lock transparency before you shade; read the last step to see where you do that.)
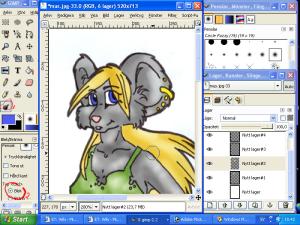
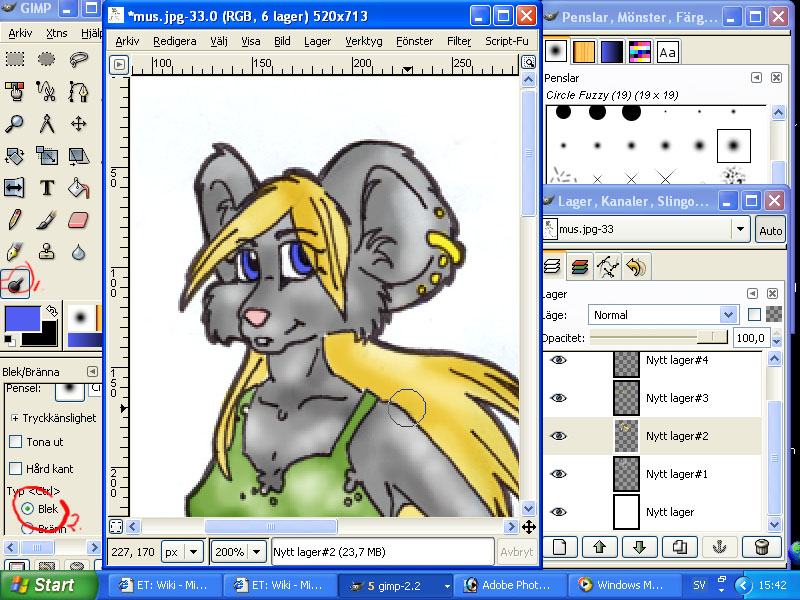
Now chose the same tool (mark.1.) and the soft brusshes,
but change it to
dodge. :)
Now make the highligts, as when you burn; take it easy, but don't be afraid to use your tool.
(Alternative 2: Use a brush with a lighter shade of the colour instead of dodge. Lock transparency (see last step).)
Try to use the tool more than once on the same place, you'll see it gets ligher each time (or darker with burn tool), use this when you shades. :)
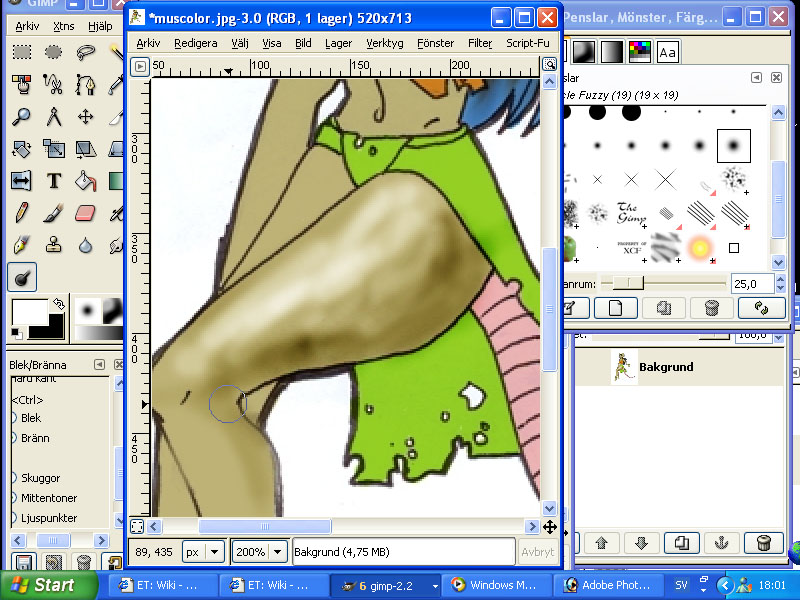
It probaly get's very irregular, with darker/lighter spots here and there and normally not so neat. So read on! ;)
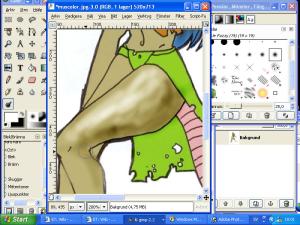
Now you can use the
smudge tool (Marked) to even it out. But remember to
Lock transparensy (marked), that will keep the color where you have put it when you smudge, so it won't get outside the lines. :)
To change color, as the blue on the hair, lock transparency and use a brush with the other colour, before you shade. :) Locking transparency will make sure that you don't colour outside the lines, but it only works if you have separate layers for each colour and have colored the part once already.
Play around to find good highlights and shadings, and have fun!
Thank you for reading this.^^
And finally done! ;P
Back to:
Zabs Tutorials
But, Why all the layers?
 Stumble!