 This is a tutorial about painting a dragon. Of course this is just my way and I don't want you to copy it completely, just grab whatever part that gives you inspiration and teach you something:P

Hello, yet another tutorial from me. You guys thought I had stopped writing them, didn't you? :P
I will assume that you have some basic knowledge about photoshop, like finding the tools and create layers. If you wonder about anything you can of course ask.
I have used a tablet for this but it is very possible to do with a mouse. Just more time consuming. You can probably use other programs than photoshop too, if you know them well.
Let's get started!
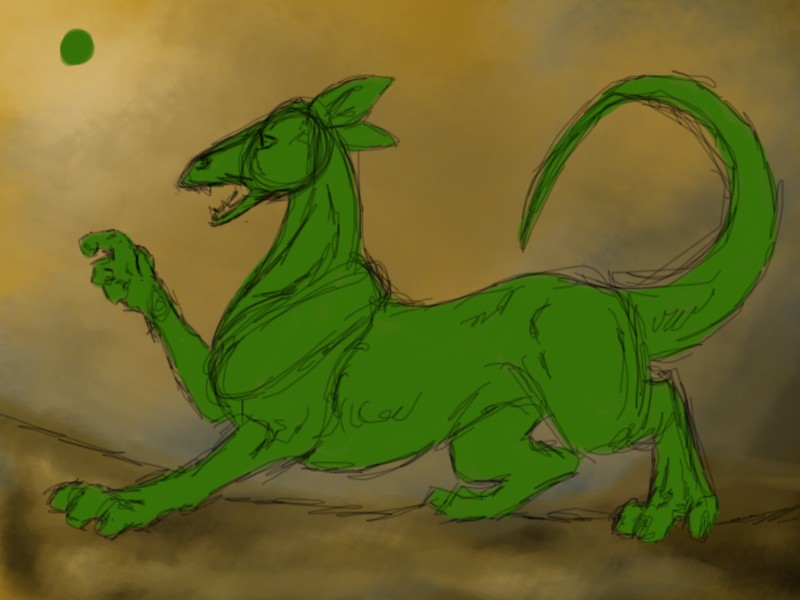
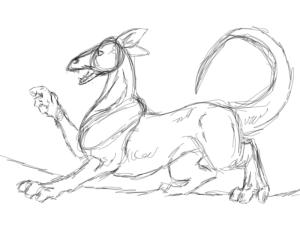
A good painting mostly starts with a good sketch. I've made this sketch very sloppy since I won't use it in the finished image. But I did show the most important details in my sketch, such as eyes, muscles etc.
Make the sketch on a separate layer, or if you're scanning a hand drawn piece, put the layer mode to ''multiply''. The sketch should be on top.
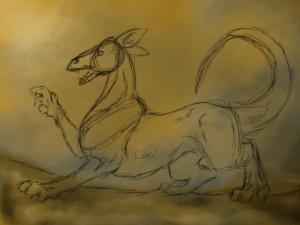
Since the backgroundcolo
ur always reflects a bit in the object you're drawing, I've decided to make the background first. It might look complicated, but I've just used a big, scattered brush with a very low flow and various shades of brown. Make your own brush or just use some from the basic set of brushes you have.
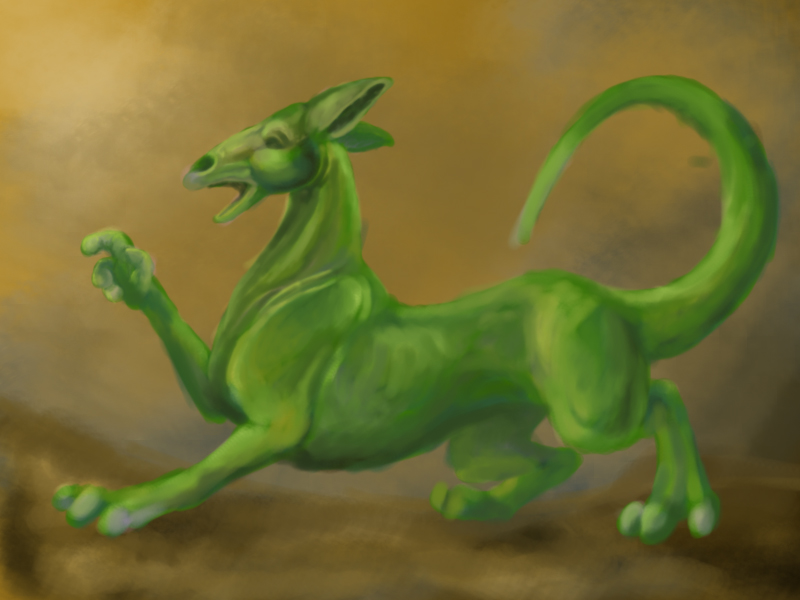
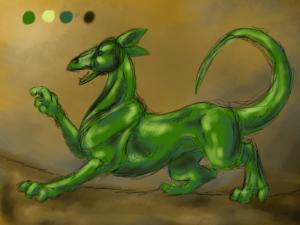
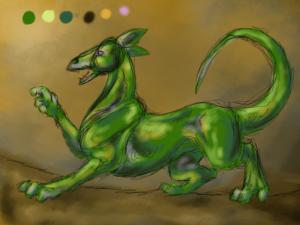
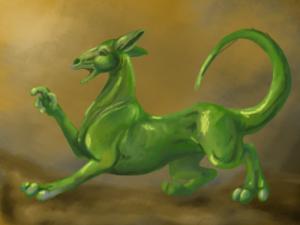
And, on to painting! I make a new layer and paint the entire dragon in basic green. The dot above it's head has its own layer and is my palet.

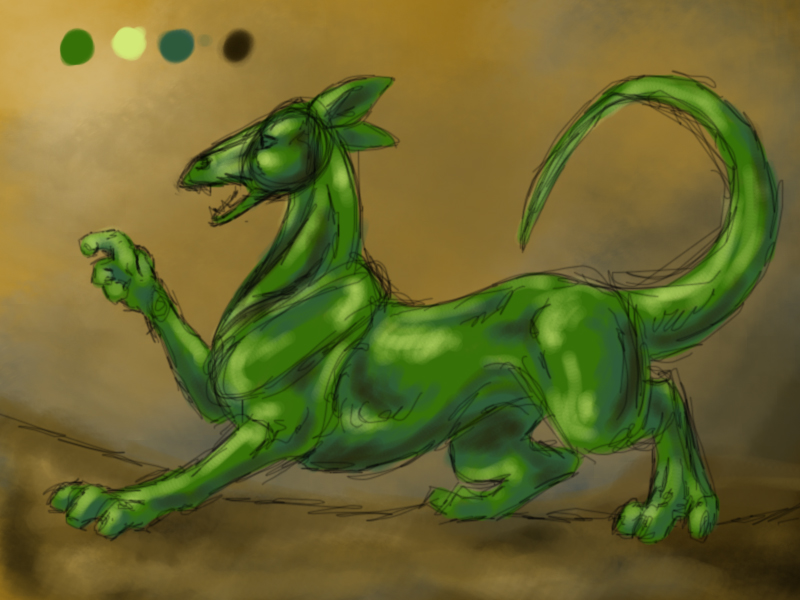
I've added shadows and highlights now. This far I'm still pretty sloppy and just throw the lines where I see fit. I change if I need to (separate layer ;) and I do try to keep an eye on my light source, which is in the top left corner. I try to see where the dragons body tucks out and if it should cast any shadow on other body parts. The light will mostly hit the places closest to it and that stands out, but it's also reflecting on shadowed parts and thus it's very tricky. So I go for feeling. ;)
This step is as important as the sketch! This decides if the dragon will look somewhat real or just have a neat pattern on it's skin.
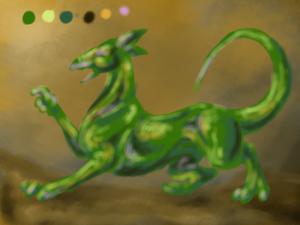
I've chosen a yellowish highlight, a blueish shadow and a dark brown from the background as extra shadow.
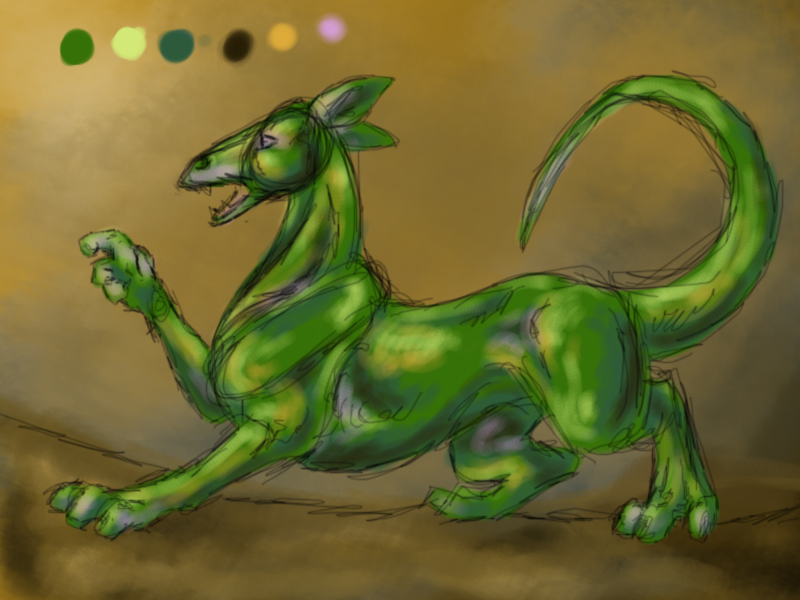
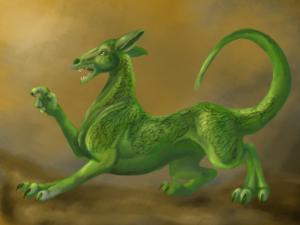
More colours! I've grabbed a shade from the background (remember how I said the background reflects in the object?) and also chosen a random pink-purple colour. This is because even if the dragon is plain green without marks, there are always parts that doesn't get paled by the sun or where the skin is thinner than on the rest of it. So to be realistic I let the colours vary, it also gives the green more effect. Don't worry if it looks a little weird now, but don't over do it.
I feel ready to remove the sketch now, but I only hide it so that if I wish, I can look at it again.
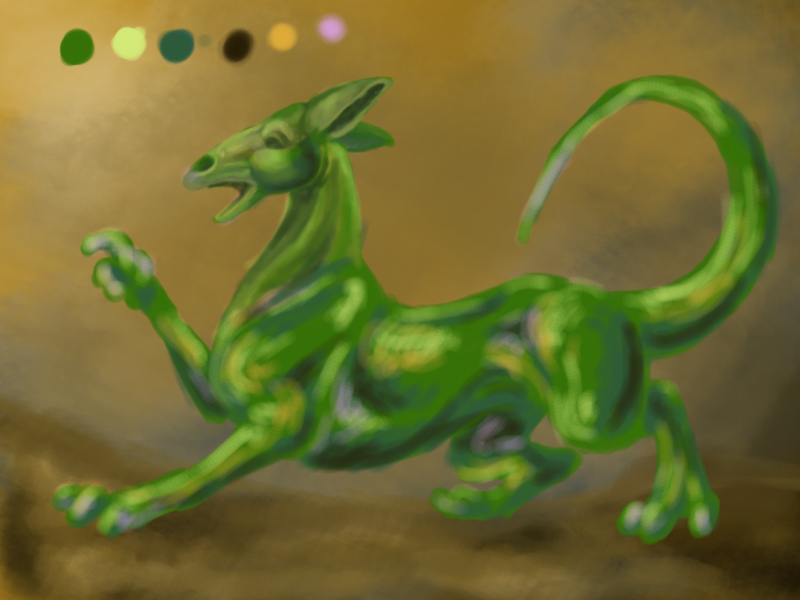
Now we're at the stage of getting the colours to mendd in a neat way.
Here's the big trick: if you use the brush, you can press the key Alt down and the brush will become the eyedropper tool, so you can select a new colour and the release the Alt-key and have the brush back.
Chose a round, middlesized (not too big) and quite soft (like 75%) brush with a flow on 6-13%. Make a new layer to paint on.
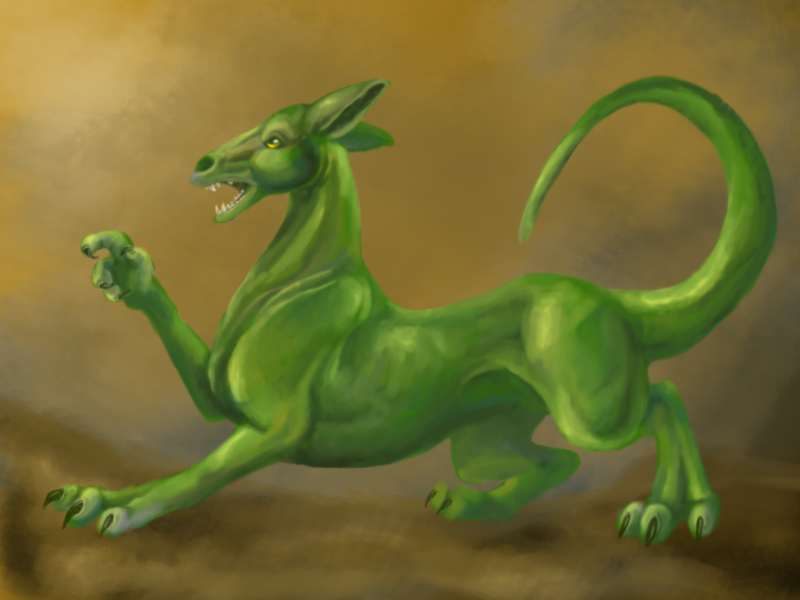
Press Alt and select a colour from the dragon, let's say his neck. Paint a bit on the same spot with the brush and then at the point where the colour yu just painted meet the colour next to it, you press Alt and select that middle shade. Paint a bit more, select a new middle colour, paint etc. Now you do this all over the dragon. But remember; you don't want a completely smooth patch of mended colours, also want shape and texture! Therefore, in nice places, you let the colours meet with rather sharp edges. Play around untill you got it right. (Nice places are such as the nostril, eye, between the toes, shoulder etc). Here I've blended the head.
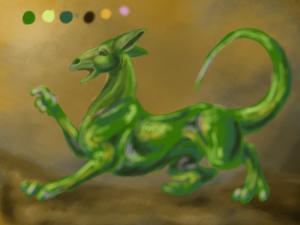
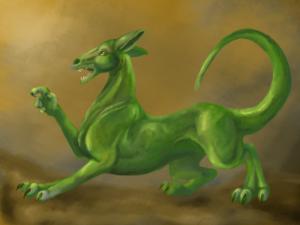
And here I've blended the entire dragon and removed my palet. You see the colour ''edges'' that gives shape?
Since I used a soft brush it's a bit blurry. So I made a new layer and added some more highlights and shadowes where I want more detail.
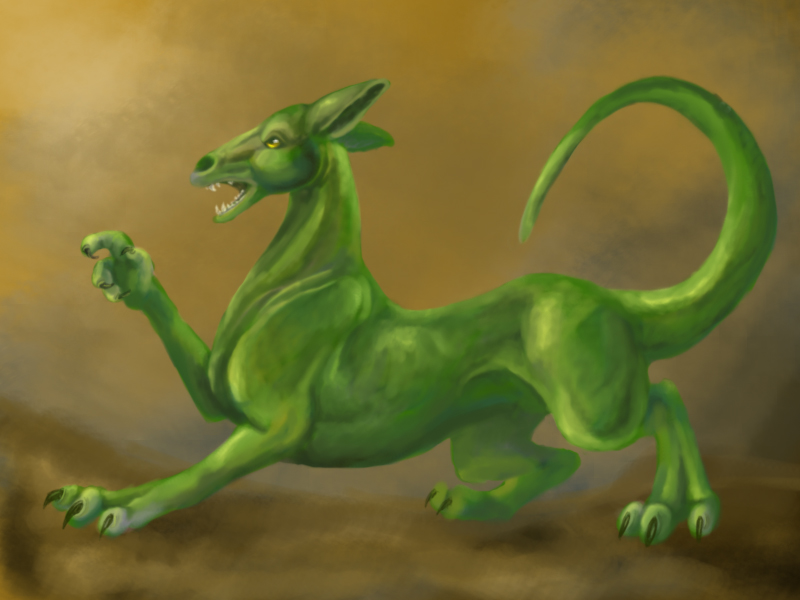
I use the same tecnique as before to blend it, but now I have a smaller and harder brush. I could stop here:P

But I won't, I want texture! So on a new layer, I scribble some texture.
I blur it and try different layer modes and opacity untill I'm satisfied.
Finally I make a new layer were I paint with the background colour a bit, to make the dragon fit with the background, and then play with the opacity.
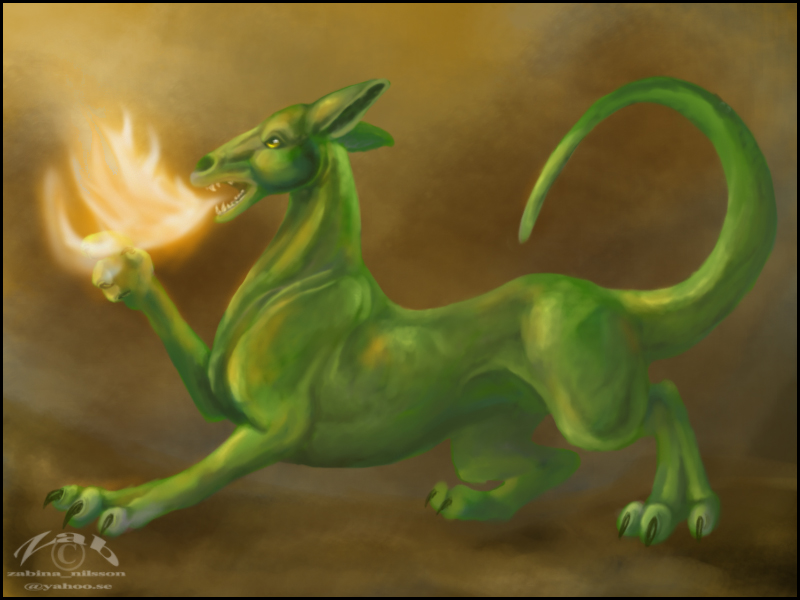
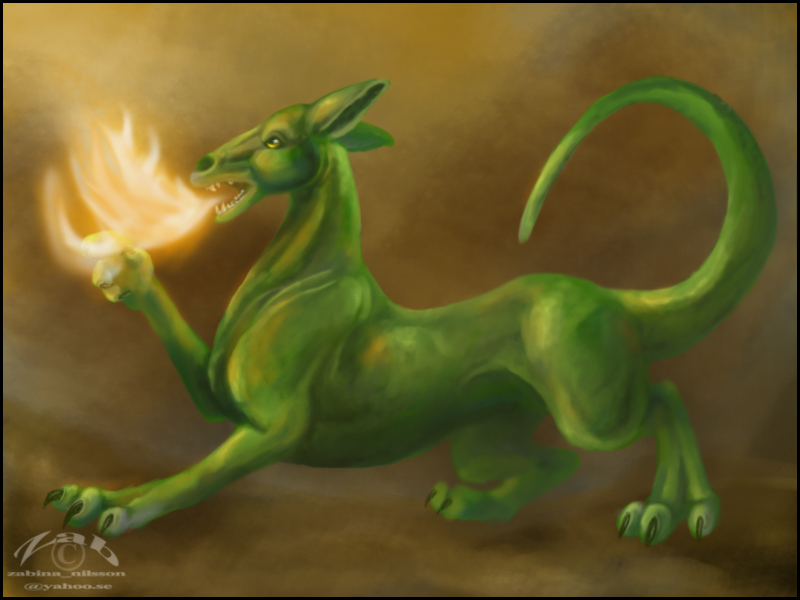
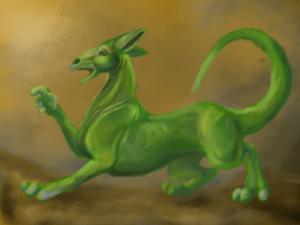
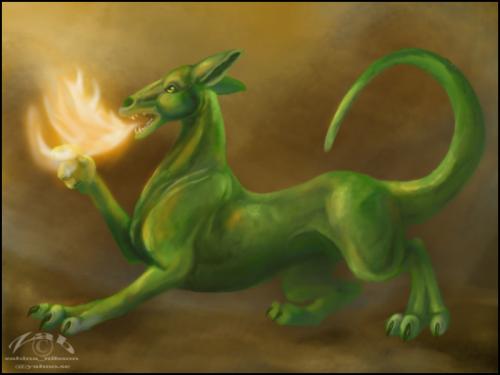
I've made some fire, because the pose it ridiculous. It's very easy, just draw some pure white on a new layer, smudge it and use the layer effect ''outer glow'' which you fiddle around with the settings in. I used an orange colour and spread it a bit.
Don't forget adding oreange highlights after the fire, place it where you think it would fall, close to the lightsource/fire and use a soft brush. Play with opacity.
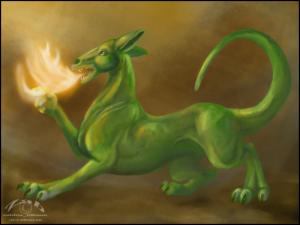
I looked over it again and found it pale and wanted it to blend in better, so I used the burn tool over all layers (after mending them) to get some higher contrast. Burn is good at this level, but it might get flat if you only use dodge and burn to shade with. I've also blurred a few places that's not supposed to catch your eye as well, all to make it fit in with the background.
I hope this gave you inspiration and a few ideas:)
Back to Zabs Tutorials.
| Show these comments on your site |
 Stumble!