Page name:
Step 2 refining possible images [Logged in view]
[RSS] 2006-07-05 00:50:13
|
# of watchers: 1
|
Fans: 0
| D20: 20 |
Refining Images
I have chosen the blue bottle and the ocean scenery.
1.Open blue bottle image (or any colour of choice..). Duplicate background layer, delete original background layer (cause' it's locked).
2.Magic wand tool (in side toolbar)>click on grey background background>press "delete" key. Repeat for all (grey) areas of background.
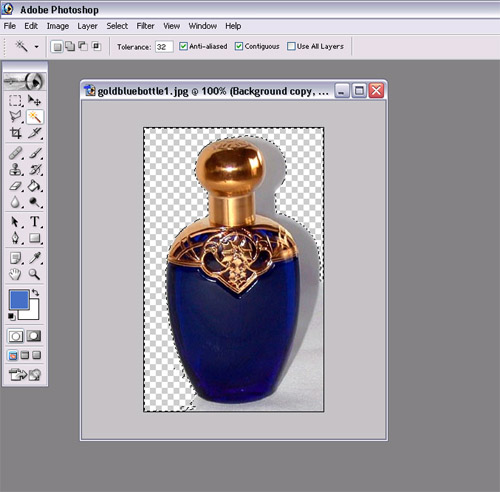
(mouse is hovering over magic wand tool)
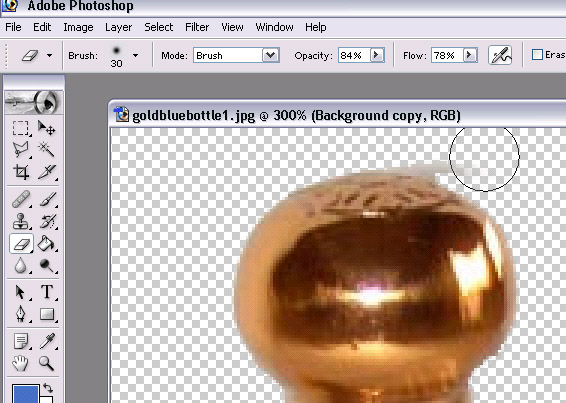
2.Another method of getting rid of the background is simply by using the eraser tool, if the magic wand tool deletes part of the bottler, you may have to use the polygon lasso tool to select the background and delete it or simply airbrush the background away (time consuming).
3.Eraser Tool>Airbrush jagged edges (or leftover grey) after using magic wand tool to select and delete major areas. (notice airbrush settings)
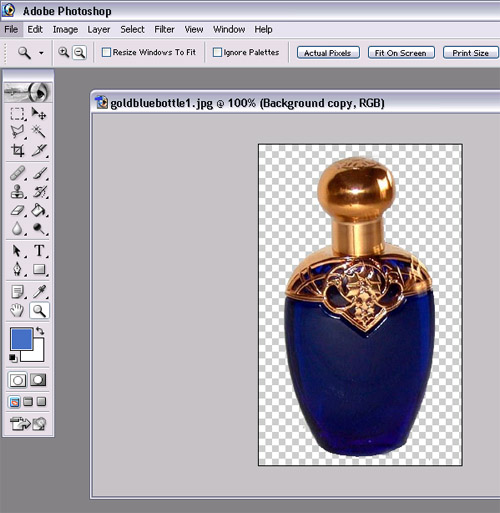
When you're done, it should look like this:
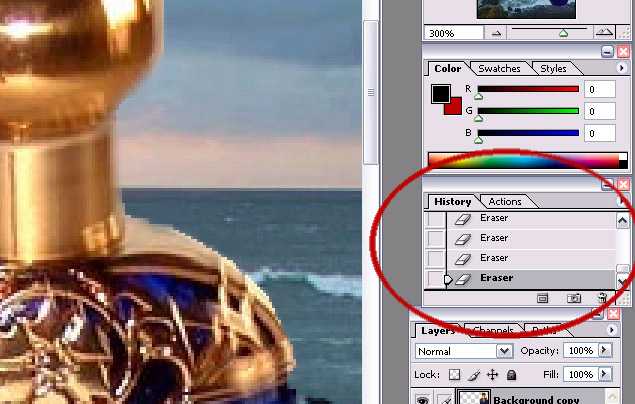
 Important Tip!
If you mess up the magic wand tool or the airbrushing, you can always go to the history palette on the right and click the previous steps to go backwards.
>Step 3 combining images and touchups
>>perfume ad - photoshop tutorial
| Show these comments on your site |
 Stumble!