This is a tutorial for Adobe Photoshop.
You need a graphics tablet to make this somewhat easily.
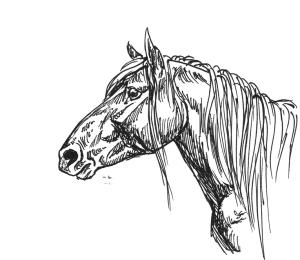
Here I'll show how I sometimes paint in Photoshop by taking a sketch or drawing I made before. :) I usually use inked pieces, sketched with a usual pen while watching TV, but it works well with pencil drawings too. You might want to play in ''levels'' to darken the lines. Don't worry if they're sharp and unpleasant.
Make sure that the picture is in greyscale (just the sketch).
Lots of detals is good, it doesn't have to be exact detailing, but it won't work with just an outline or lineart, then you're better off with a tutorial about normal coloring ;)
 This tutorial is made by [Zab]
Tips: If you want to change proportions slightly, now is the time. Use the filter ''liquify''.
This tutorial is made by [Zab]
Tips: If you want to change proportions slightly, now is the time. Use the filter ''liquify''.
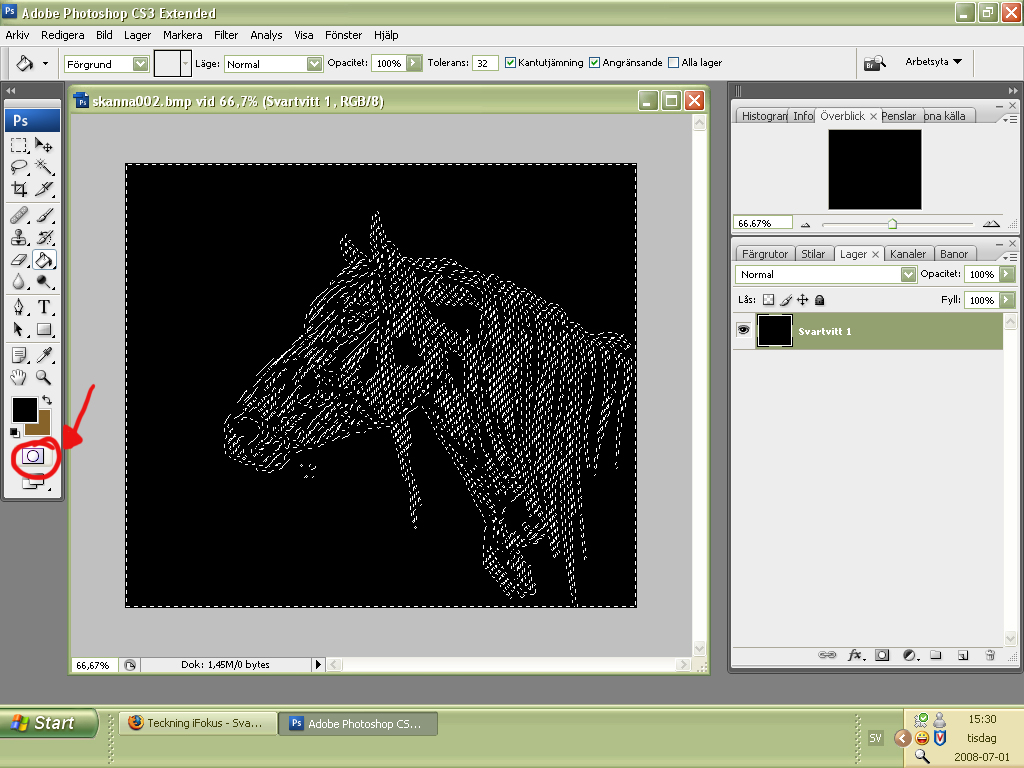
This is the picture I started with. :)
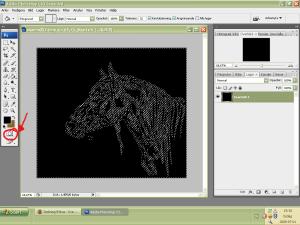
Now we want to separate the lines from the white. We do that this way:
1. Mark and cut out the image (ctrl+a and ctrl+x)
2. Click the layermask thingy (look at image below)
3. Paste the image onto a layer with black. (you need to fill the layer before you press the layermask thing)
4. Click the layermask thing again.
5. Press ''delete''
6. Remove the marking with Ctrl+D
7. And put a white layer under it so you have two layers with the lines on top.
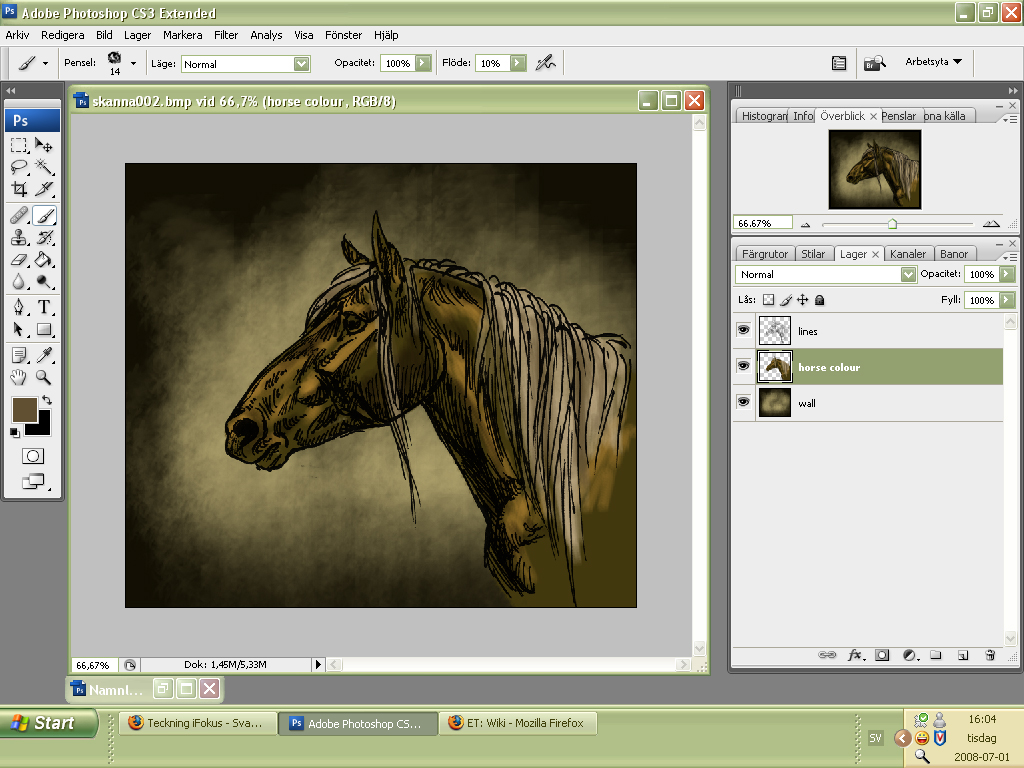
Paint a neat background or leave it white.
Now, make a new layer under the lines, and colour. Don't paint outside the drawing, and make sure to get the highlights and shadows right, other than that there isn't much to care about. I made my background and colouring in 1 minute or less :3
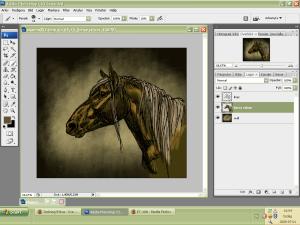
Time for the fun!
Hide the background and merge the lines and colour (ctrl+e).
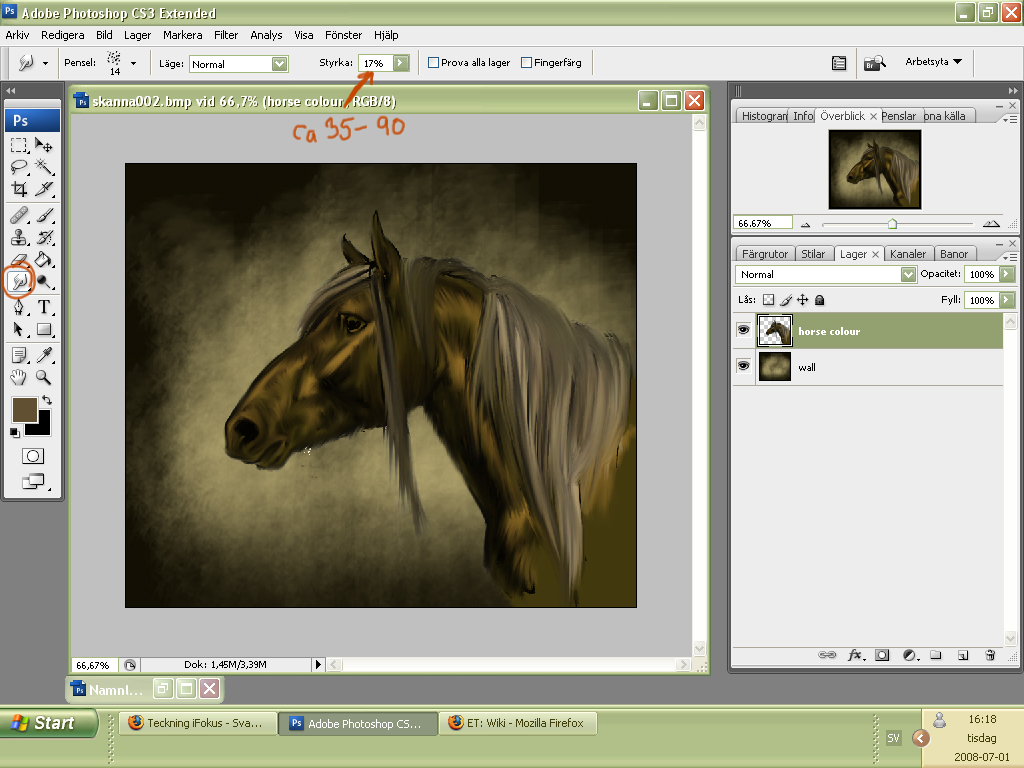
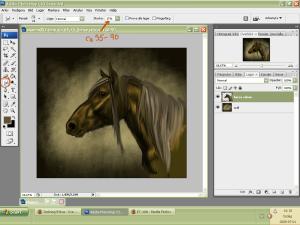
Use the smudge and some fancy brush (I used a hair brush) in the right size and strength. I won't tell you how to make brushes, go find a tutorial about that:P
For the mane I used a bigger hair brush and about 90% strength.
Small, quick strokes or fast ones back and forth seems to work best. (not on the mane tho, there I want long strokes for now) Be careful not to smudge the outline too much, but don't leave it alone either.
Getting pretty, eih? :P
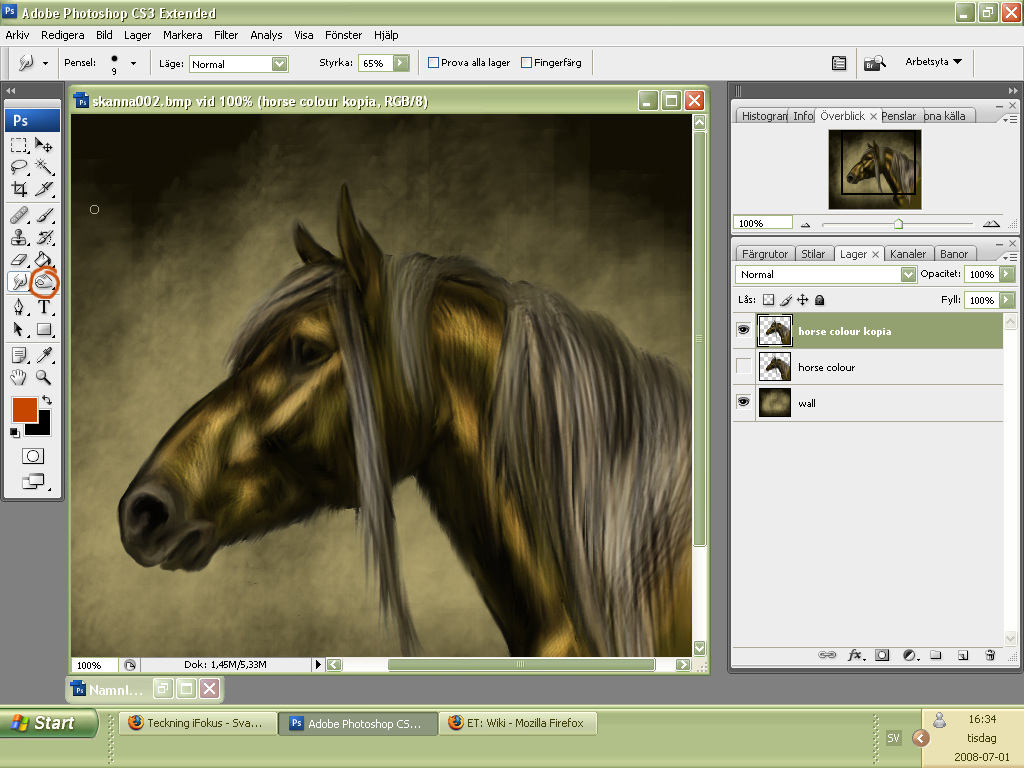
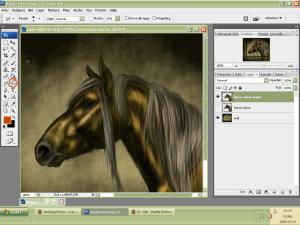
To get more texture, I used dodge and burn. I altered between highlights and middletones, strength and size. I used about 10% strength, but it depends on how light the colour is. It should be obvious that you use the tool, but not too strong either. Try and see :) I duplicated the layer before I started, just in case something would go wrong. When I'm happy about the result, I hide or delete unecessary copys.
I desaturated the muzzle and used a normal, round smearing brush on it, since there are no fur. Remember to use brushes fit for the texture you're drawing; a hair brush on skin looks weird... But a speckled brush could give interesting depths.
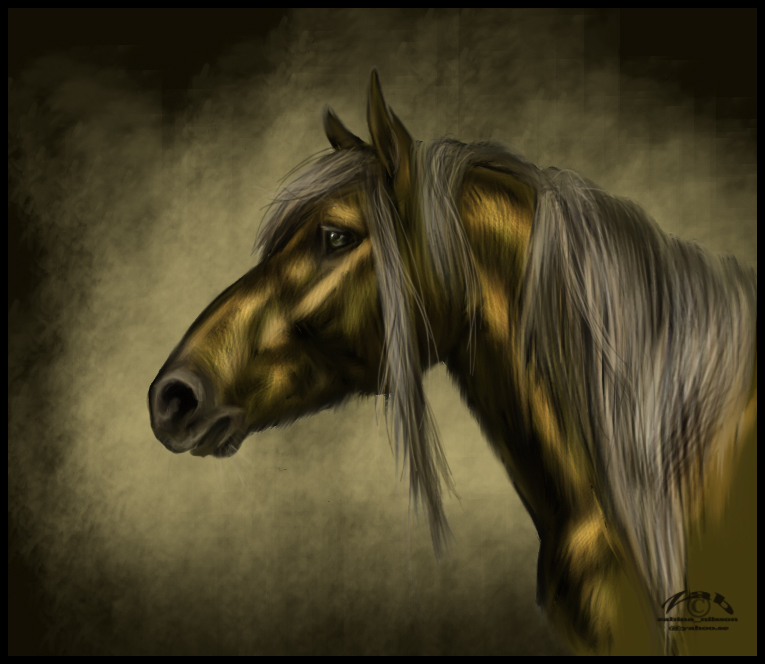
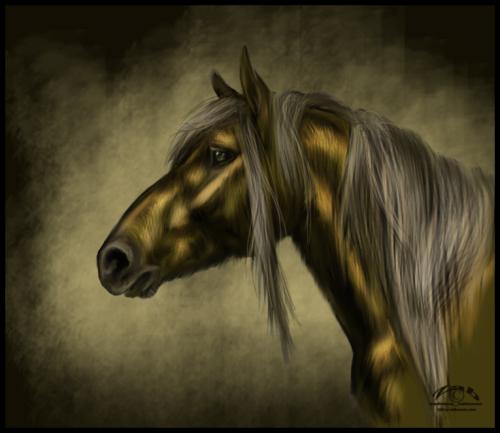
There. All left is detailing.
I added the eye (the secret behind good eyes are to start with a dark background and work the highlights to come. Several layers with smeared highlights, partly erased with a big, soft eraser)
I also added a few stray hairs (eyedropper tool, Alt, to pick colours) and some more highlights on the muzzle.
Hairs on the muzzle and over the eye, and a frame, and that's it.
This picture took less than 2 hours to make, including making the sketch and writing the tutorial in both swedish and english ;)
 Back to:
Zabs Tutorials
 Stumble!