Page name:
Feathered Wings [Exported view]
[RSS] 2007-02-28 21:56:45
|
# of watchers: 4
|
Fans: 0
| D20: 19 |

This is a tutorial for Adobe Photoshop.
You need a graphics tablet to make this kind of wings.
There is another, far more complicated and boring way if you only have a mouse; you can use the tecnique on [Asrun]s tutorial about inking in photoshop; How to Ink in Photoshop. Then you just have to make each feather in about 6 steps, instead of just drawing it.
But of course; that tecnique is really good for inking ;P
I will assume that you know a bit about layers and such.:)
I will try to show how I've made wings sometimes. :)
 This tutorial is made by [Zab]

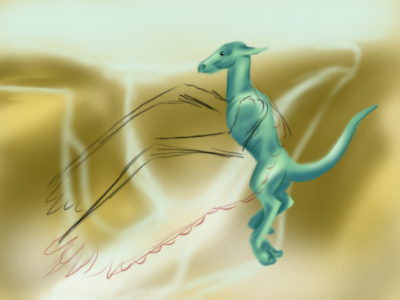
Alright; I'll suppose you have made the winged creature and the background already (and hopefully with more care than I've done here ;).
So, start with making a quick sketch of the wing, remember to do it on a separate layer. We will remove it later. :)

Chose a round, quite hard brush (I have no. 3 of the standard brushes) and change the size to the size the thickest part of each feather should be. 9 pixels in this case.
Now; the trick is to chose opacity 75% (see image). Chose whatever color you want the wing to be. :)
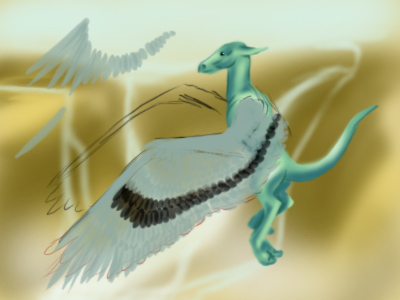
Now the fun part comes; draw the wings. :P
Start with the feathers on the tip and back of the wing and work your way forward/toward
s the creature. You can see a bit better how I mean on the strokes I've made. :)
Remember that the feathers are longer at the end of the wing than close to the creature.
If your wing should have a pattern, this is the time to draw it; just change the color and keep doing the feathers. :)
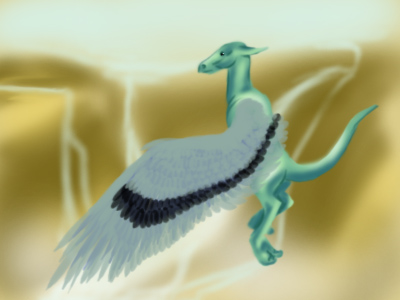
Now; make a new layer under the one with the feathers. Chose a color that's a bit darker than your wing (or lighter, if it's a black wing). This will make it less transparent.
Remember to put the opacity back to 100%.
It usually gets best if you follow the strokes you made before, somewhat. :)
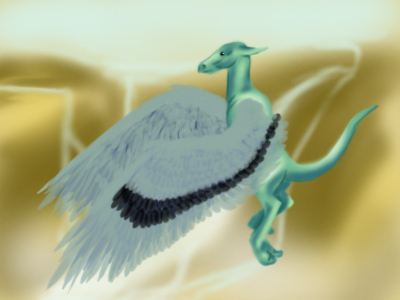
Do the same thing with next wing; but make the layers for that wing lay under the layers for the creature. :)
You can hide the first wing while you're working on this.
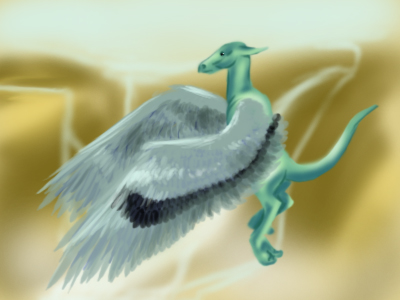
It looked a little flat, I think. So I made a new layer above all layers, to draw highlights on. :)
I used the same brush, and Opacity 25%.
Gain I tried to follow the old strokes, first with a very light color where I wanted the highlights, then a dark color where I wanted the shades.
Finally! It's done. :D
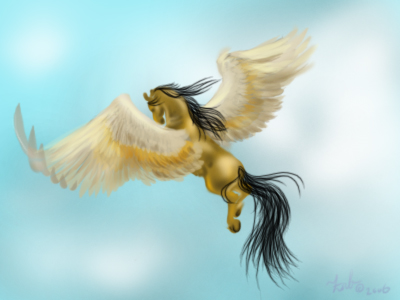
Another example on the same type of wings (with a bit effort in them, tho); if you'll bend up the tips of some feathers like here; use a darker color and do it after you've done the feathers. :)

Back to:
Zabs Tutorials

| Show these comments on your site |
 Stumble!


